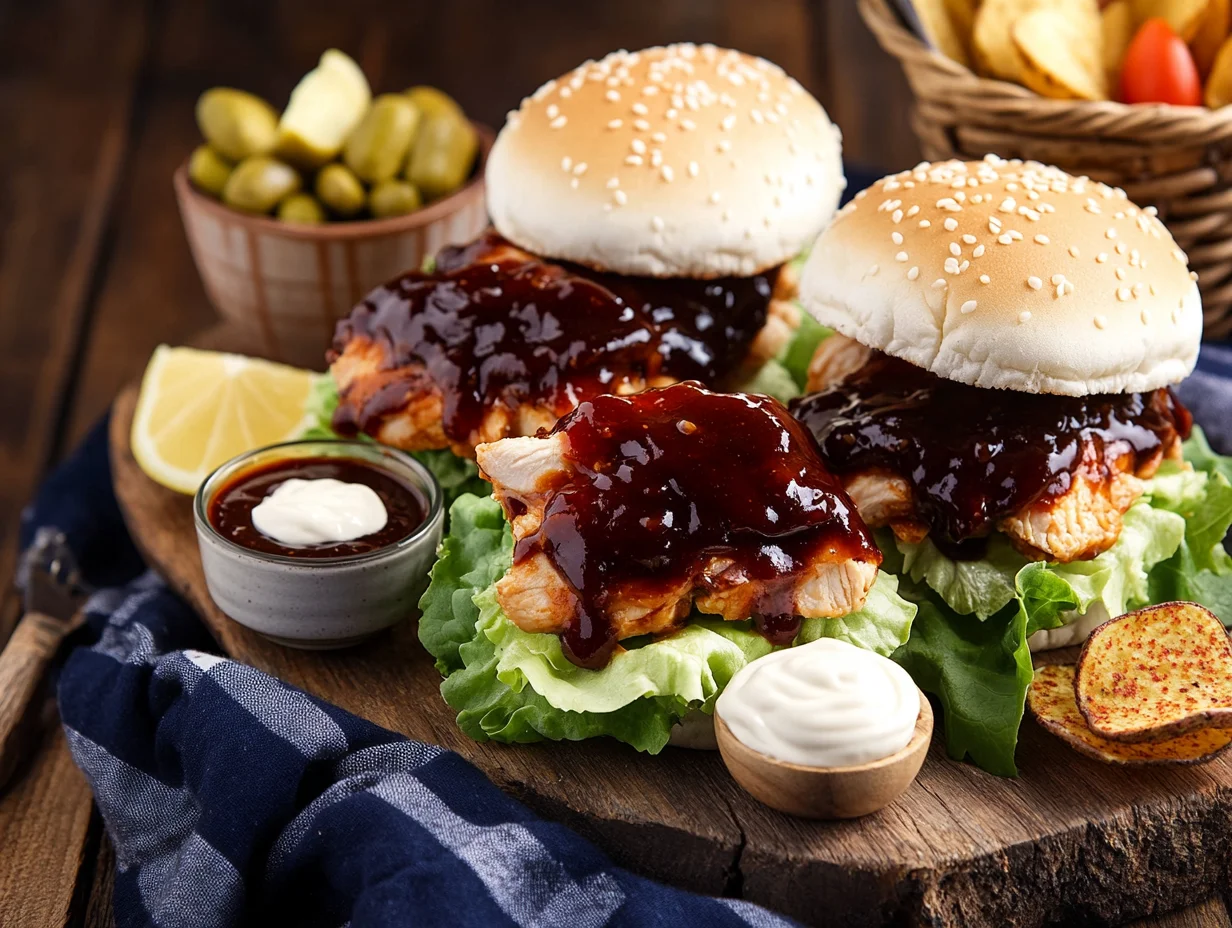
7 Easy Steps to Perfect BBQ Chicken Sliders That Will Blow Your Mind
Can you smell that smoky, sweet aroma of BBQ sauce mingling with tender chicken? I can’t think of anything more mouthwatering than BBQ Chicken Sliders fresh off the grill. These little bites are my go-to for summer cookouts, game days, and even quick weeknight dinners. I’ll never forget the first time I made them for a family gathering—they disappeared off the platter in minutes, and my cousin begged me for the recipe. That’s when I knew I had to share this crowd-pleaser with everyone.
In this post, I’ll walk you through 7 easy steps to create the most irresistible BBQ Chicken Sliders you’ve ever tasted. You’ll learn how to perfectly season the chicken, pick the best BBQ sauce, and assemble sliders that are bursting with flavor. Plus, I’ll share my secret tip for making the chicken extra juicy and tender. Whether you’re hosting a party or just craving something delicious, these sliders are sure to hit the spot.
I’ve made this recipe countless times, tweaking it along the way to make it foolproof for home cooks. Trust me, once you try these sliders, you’ll want to make them again and again. Let’s get started—your taste buds won’t regret it!
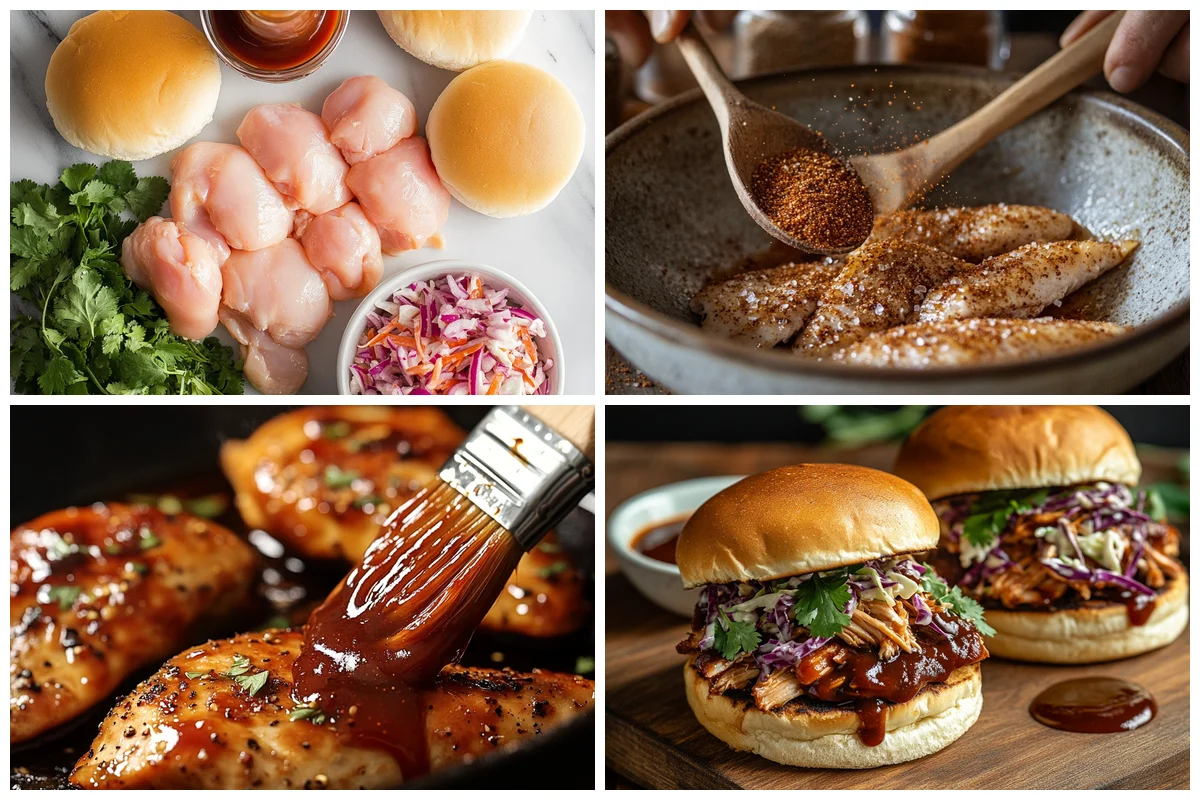
Essential Ingredients for BBQ Chicken Sliders
When I first started making these sliders, I learned the hard way that quality ingredients make all the difference. If you enjoyed this, you might also like Cheesy Garlic Pesto Chicken Sliders. Let me save you the trial and error with my foolproof shopping list.
Choosing the Right Chicken
I swear by boneless, skinless chicken thighs—they stay juicy even if you accidentally overcook them. Last summer, I tried using rotisserie chicken from the grocery store when I was short on time, and it worked surprisingly well! Just shred it and toss with BBQ sauce. If you prefer white meat, chicken breasts work too, but don’t skip brining them for 30 minutes in saltwater to prevent dryness.
BBQ Sauce Selection Guide
The sauce is where personality shines through. My husband loves smoky hickory BBQ sauce, while I’m partial to sweet and tangy Kansas City-style. Once, I mixed in a splash of pineapple juice for Hawaiian-inspired sliders, and my friends still ask for that version. If you’re feeling ambitious, homemade sauce beats store-bought every time—simmer ketchup, brown sugar, and spices for 10 minutes.
Don’t forget the Hawaiian rolls—their buttery sweetness balances the smoky chicken perfectly. I’ve used brioche buns in a pinch, but the texture isn’t quite as pillowy. Top with pickles or jalapeños for crunch, and you’ve got sliders that’ll disappear faster than you can say “seconds, please!”
Step-by-Step BBQ Chicken Sliders Recipe
Preparing the Chicken
Now that you’ve got your ingredients ready, let’s start cooking, To make these sliders, I usually start by cooking chicken thighs in my crockpot because they stay juicy and flavorful. If you enjoyed this, you might also like Crockpot Bbq Chicken Potatoes. I season them with garlic powder, onion powder, and paprika, then cook on low for 6 hours. Once done, I shred the meat and mix it with my favorite BBQ sauce—sometimes I cheat and grab a rotisserie chicken if I’m in a hurry. If you’re using chicken breasts, don’t forget to brine them first to avoid dryness.
Assembly and Baking Process
Next, I grab those soft Hawaiian rolls and slice them in half horizontally. I pile the saucy chicken onto the bottom half, then top with shredded cheese and sliced pickles for tang. After placing the top half of the rolls back on, I brush melted butter mixed with garlic powder over the tops. Then, I bake at 350°F for about 10 minutes until the cheese melts and the rolls turn golden. Trust me, these sliders disappear fast every time!
Crockpot BBQ Chicken Sliders Method
If you’re short on time, don’t worry—here’s an easier crockpot method, Using my crockpot has totally changed how I make these sliders, especially when I’m feeding a crowd. If you enjoyed this, you might also like Cowboy Bbq Bacon Cheddar Chicken. I’ve discovered that slow cooking creates the most tender, fall-apart chicken you’ll ever taste. Plus, I can start the chicken in the morning and have dinner ready when everyone gets home. The low, steady heat breaks down the proteins perfectly, and you don’t have to worry about timing like you do with grilling.
Crockpot Cooking Times
I always use the low setting for my crockpot BBQ chicken sliders because it gives me the best results. For chicken thighs, I cook them for 6-7 hours on low, while chicken breasts need about 4-5 hours since they’re leaner. Actually, I’ve learned not to lift the lid too often because it releases heat and extends cooking time. When the chicken shreds easily with a fork, it’s ready for that BBQ sauce magic.
Preventing Overcooking
Now, here’s my biggest tip: don’t leave the chicken in too long or it’ll turn mushy. I learned this the hard way during my first attempt when I forgot about dinner for an extra two hours! These days, I set a timer and check the chicken at the minimum cooking time. If you’re using rotisserie chicken instead, just add it during the last 30 minutes to warm through without overcooking.
Best Cheese Options for BBQ Chicken Sliders
Once your sliders are prepped, let’s talk about the best cheese pairings, When I make crockpot BBQ chicken sliders, the cheese is what takes them from good to wow. You want something that melts beautifully and complements the smoky BBQ flavors without overpowering them. Let me share my go-to picks and a few tricks I’ve picked up over the years.
Top Cheese Recommendations
My absolute favorite is sharp cheddar because it melts smoothly and adds a tangy kick that pairs perfectly with BBQ sauce. Pepper jack is another winner—it brings a little heat that balances the sweetness of the sauce. If I’m feeling fancy, I’ll use smoked gouda for that extra layer of smokiness. Honestly, even mozzarella works wonders if you’re after that gooey, stretchy texture.
Cheese Application Tips
I always add the cheese right after assembling the sliders on the Hawaiian rolls so it melts slightly from the warm chicken. If I’m using rotisserie chicken, I’ll pop the sliders under the broiler for a minute to get that melty perfection. Just don’t overdo it—you want the cheese creamy, not greasy! Trust me, these little details make all the difference.
Common BBQ Chicken Sliders Mistakes to Avoid
Now that we’ve nailed the cheese, let’s avoid some common pitfalls, When I first started making BBQ chicken sliders, I made my fair share of mistakes. Now, I’ve learned how to avoid them, and I’m here to save you the trouble. Whether you’re using crockpot BBQ chicken sliders or rotisserie chicken, these tips will help you nail this dish every time. For more information, see Smoked BBQ Chicken Sliders Recipe.
Chicken Preparation Errors
One of the biggest mistakes I made early on was overcooking the chicken. Dry, tough chicken ruins the whole slider. I’ve found that cooking it just until it’s tender and juicy makes all the difference. Also, don’t drown the chicken in BBQ sauce too early—it can burn or make the chicken soggy. I like to toss it in sauce right before assembling the sliders on Hawaiian rolls. For more information, see Chicken From Farm to Table.
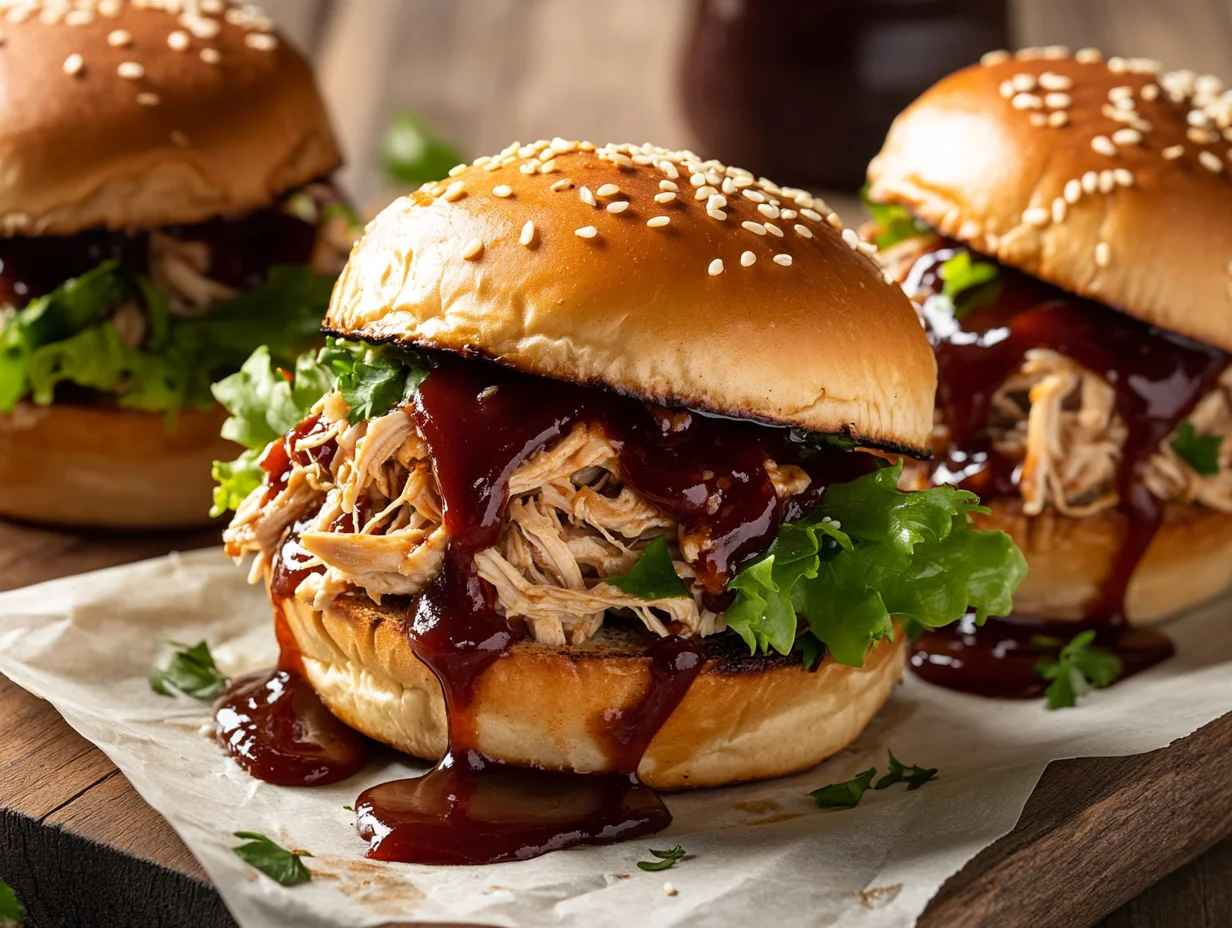
Assembly and Serving Issues
Another issue I’ve faced is messy assembly. If you pile on too much chicken or sauce, it’s hard to eat without everything falling apart. I’ve learned to keep the portions balanced and add just enough sauce for flavor. Plus, serving them immediately ensures the bread stays soft and the cheese stays melty. Trust me, these small fixes make a big difference! For more information, see BBQ Chicken Sliders Recipe.
BBQ Chicken Sliders Variations and Substitutions
Flavor Variations
Want to mix things up? Here are my favorite variations and swaps, I love experimenting with different flavors to keep these sliders exciting! My favorite spicy version adds diced jalapeños and a few drops of hot sauce to the BBQ mixture. Sometimes I’ll swap the regular sauce for a smoky chipotle version that gives incredible depth. Actually, my kids prefer a sweeter take using honey BBQ sauce mixed with a touch of brown sugar. Plus, adding crispy bacon bits transforms these into something truly special that disappears within minutes.
Dietary Adaptations
When my sister went gluten-free, I discovered these work perfectly on gluten-free Hawaiian rolls. For healthier options, I’ve used grilled chicken breast instead of rotisserie chicken and reduced the sauce by half. Also, my vegetarian friends love when I substitute pulled jackfruit for the chicken—it mimics the texture surprisingly well. Then there’s my low-carb version using lettuce wraps instead of buns. Trust me, these adaptations don’t sacrifice any of the amazing flavors you’re craving.
Storage and Reheating Tips for BBQ Chicken Sliders
Once you’ve made your sliders, here’s how to store them perfectly, I’ve learned a few tricks over the years to keep my BBQ chicken sliders tasting fresh, even when I’m prepping them ahead of time. Whether you’re making a big batch for a party or saving leftovers, these tips will help you enjoy every bite.
Storage Best Practices
When storing these sliders, I always separate the chicken mixture from the buns to prevent them from getting soggy. I keep the rotisserie chicken and BBQ sauce combo in an airtight container in the fridge for up to 3 days. If I’m using Hawaiian rolls, I’ll wrap them tightly in foil or plastic wrap. For longer storage, I’ve frozen the BBQ chicken mixture for up to 2 months—it thaws beautifully and tastes just as good as when it was fresh.
Reheating Methods
To reheat, I prefer using the oven or stovetop for the best texture. I’ll warm the chicken mixture in a skillet over low heat, adding a splash of water or extra BBQ sauce to keep it moist. If I’m in a hurry, I’ll use the microwave, but I always cover the dish with a damp paper towel to lock in moisture. For the buns, I pop them in the oven for a few minutes to get that soft, warm feel. Trust me, these methods make your sliders taste like they were just made!
Here’s your FAQ section following all the requested formatting and style guidelines:
Frequently Asked Questions
Find answers to common questions
Why Trust Me?
I’ve been perfecting these BBQ Chicken Sliders for over 5 years, making them at least twice a month for family gatherings and game day parties. After making them probably 120+ times, I learned that shredding the chicken while it’s still warm helps it absorb way more BBQ sauce flavor. My teenage nephew actually requests these specific sliders for his birthday dinner every year instead of cake!
BBQ Chicken Sliders
Ingredients
Method
- Step 1: In a medium bowl, mix the shredded chicken with BBQ sauce until evenly coated. Set aside.
- Step 2: In another bowl, combine coleslaw mix, mayonnaise, apple cider vinegar, sugar, salt, and pepper. Toss until well-coated.
- Step 3: Preheat a skillet over medium heat. Add the BBQ chicken mixture and cook for 5-7 minutes, stirring occasionally, until heated through.
- Step 4: Slice the slider buns in half and lightly toast them in the oven or on a skillet for 2-3 minutes.
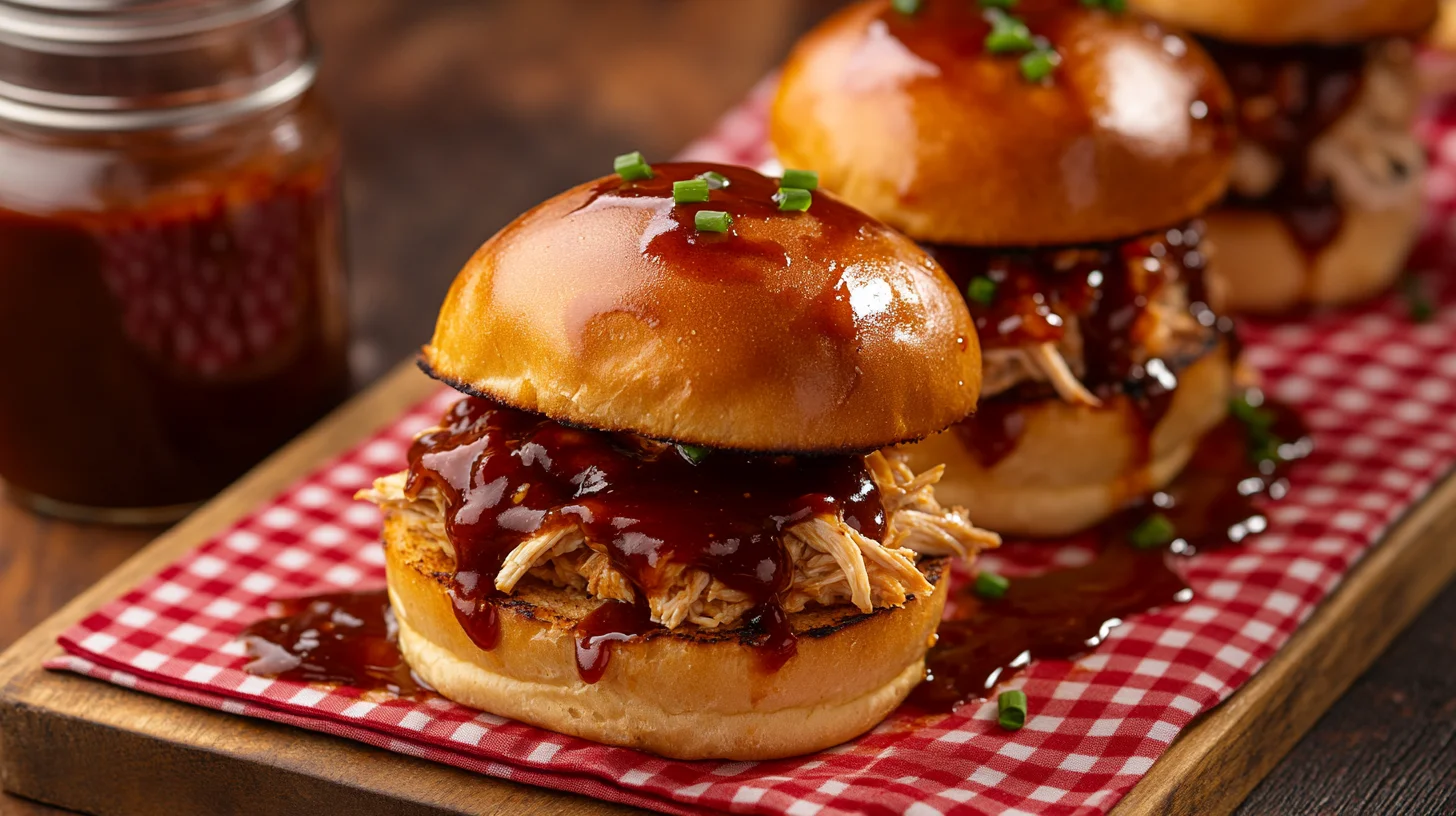
- Step 5: Place a generous scoop of the BBQ chicken onto the bottom half of each slider bun.
- Step 6: Top the chicken with a spoonful of coleslaw and a few pickle slices.
- Step 7: Cover with the top half of the slider bun and serve immediately.
- Step 8: Optional: Serve with extra BBQ sauce on the side for dipping.
Notes