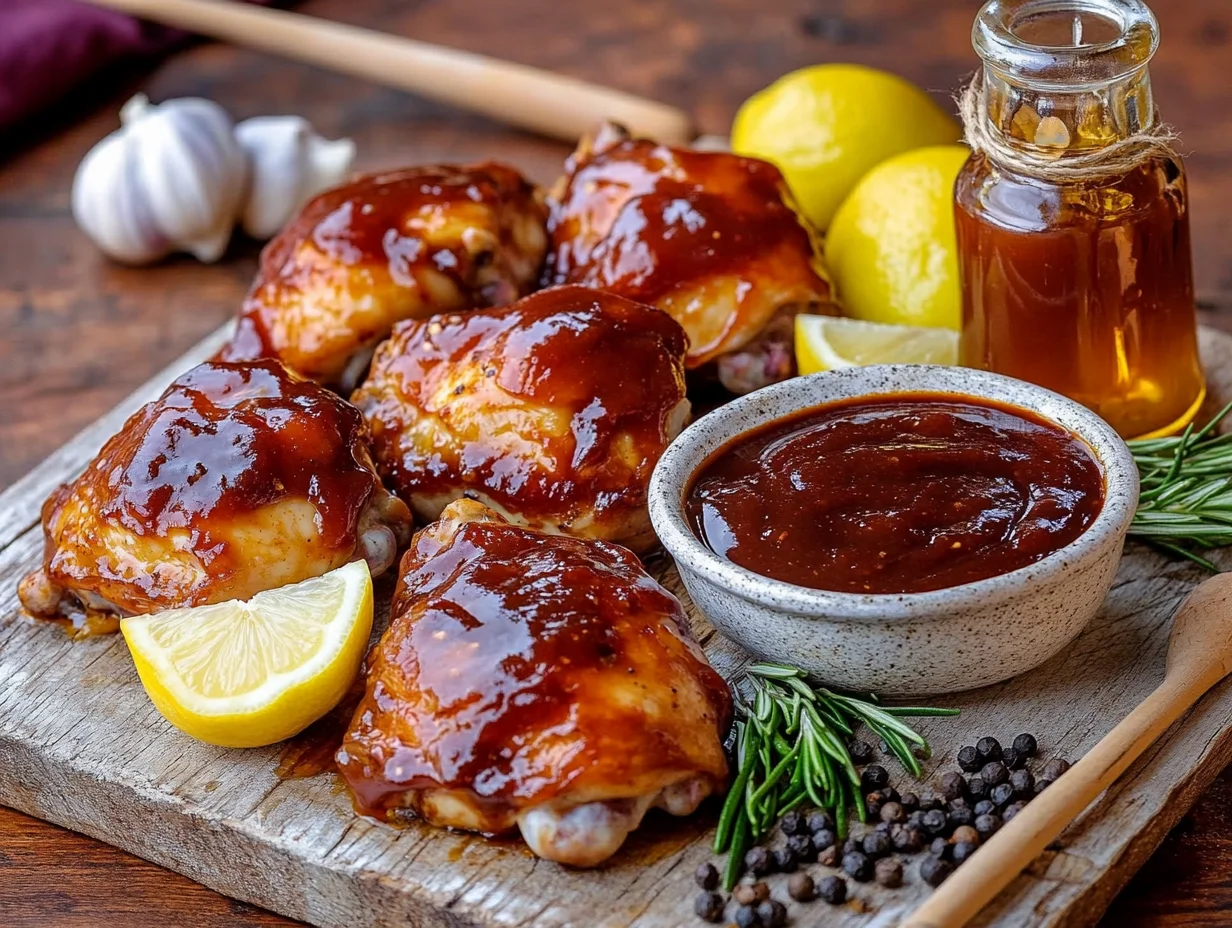
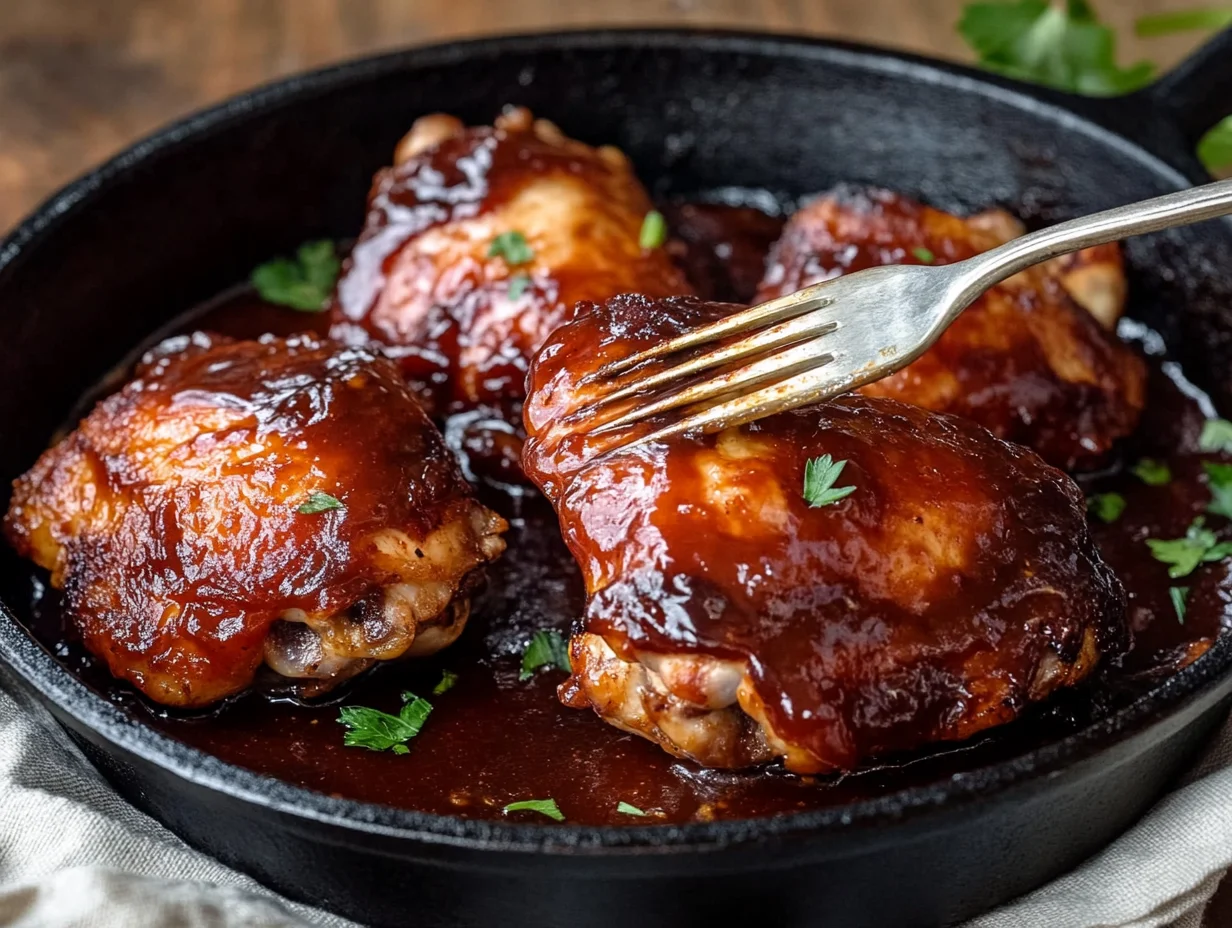
6 Easy Steps to Perfect BBQ Baked Chicken Thighs That Will Blow Your Mind
Can you smell that tangy, smoky aroma wafting through your kitchen? That’s the magic of BBQ Baked Chicken Thighs, a dish that’s become a staple in my home. I’ll never forget the first time I tried this recipe—it was a lazy Sunday, and I wanted something easy but packed with flavor. My family took one bite and declared it a keeper. Now, it’s my go-to dish for weeknight dinners, potlucks, and even casual get-togethers.
What makes these chicken thighs so special? It’s the perfect balance of juicy, tender meat and that irresistible BBQ glaze that caramelizes in the oven. You’ll be amazed at how simple it is to achieve restaurant-quality flavor right in your own kitchen. Plus, it’s a crowd-pleaser every single time.
In this article, I’ll walk you through 6 easy steps to make the best BBQ Baked Chicken Thighs you’ve ever tasted. You’ll learn how to prep the chicken for maximum juiciness, choose the right BBQ sauce, and bake it to perfection. I’ll also share my tips for getting that sticky, caramelized finish that everyone loves. Trust me, once you try this recipe, you’ll want to make it again and again. Let’s get started!
What Makes BBQ Baked Chicken Thighs So Irresistible
There’s something magical about the combination of smoky BBQ flavors with the convenience of oven cooking. If you enjoyed this, you might also like Chimichurri Chicken Thighs. When I first discovered this oven baked chicken thighs method, I couldn’t believe how much easier it was than grilling outdoors. You get all that rich, caramelized BBQ goodness without dealing with weather, charcoal, or constantly watching the grill. Plus, my kitchen stays cool, and cleanup is a breeze.
Why Choose Chicken Thighs Over Breasts
I’ve tried this bbq chicken recipe with both cuts, and thighs win every time. They’re naturally more forgiving because of their higher fat content, which means they stay incredibly juicy even if you accidentally overcook them slightly. The dark meat also absorbs BBQ sauce flavors better than white meat. When I serve these baked chicken thighs boneless to guests, they always comment on how tender and flavorful they are compared to typical chicken breast recipes.
The Perfect Balance of Crispy and Juicy
The secret lies in starting with high heat to crisp the skin, then reducing temperature to cook through gently. I’ve learned that patting the thighs completely dry before seasoning creates that perfect golden exterior. The BBQ sauce gets sticky and caramelized while the meat stays incredibly moist. It’s honestly the best of both worlds.
BBQ Sauce Application Science
Timing is everything when applying BBQ sauce to prevent burning. I always add it during the last 15 minutes of cooking, which allows the sugars to caramelize without charring. This creates that glossy, sticky coating that makes everyone’s mouth water when you pull them from the oven.
Essential Ingredients for Perfect Oven Baked Chicken Thighs
Choosing the Right Chicken Thighs
Now that you know why these thighs are addictive, let’s gather what you’ll need, I’ve made this BBQ baked chicken thighs recipe dozens of ways, and bone-in, skin-on thighs always win. If you enjoyed this, you might also like Best Buffalo Chicken Dip Baked Extra Creamy. The bone keeps the meat juicy, while the skin crisps up beautifully. That said, if you’re short on time, boneless thighs work too—just reduce cooking time by 10 minutes. My grocery store trick? Look for plump thighs with even marbling. Avoid any with dried edges or excess liquid in the package—that usually means they’ve been frozen too long.
BBQ Sauce Selection Guide
Not all BBQ sauces are created equal! For oven baked chicken thighs, I prefer a thicker, smokier sauce that clings well. Sweet Baby Ray’s is my go-to pantry staple, but when I’m feeling fancy, I’ll whip up a quick homemade blend with ketchup, brown sugar, and a splash of apple cider vinegar. Pro tip: If your sauce is too thin, simmer it for 10 minutes to thicken. Nothing’s worse than runny sauce sliding right off your chicken.
Dry Rub Seasoning Blend
Before the BBQ sauce even comes into play, I massage every thigh with my signature dry rub. It’s just brown sugar, smoked paprika, garlic powder, salt, and a pinch of cayenne—but oh, what a difference it makes! The sugar caramelizes under the broiler, while the spices create a flavorful crust. I’ve tried skipping this step, and trust me, you’ll notice. The rub acts like a flavor magnet for the sauce later.
Fun story: My nephew once licked the leftover rub straight from the bowl. That’s how good it is. Now I always make extra to sprinkle on roasted veggies or fries. Waste not, want not!
Step by Step BBQ Baked Chicken Thighs Method
Preparation and Seasoning
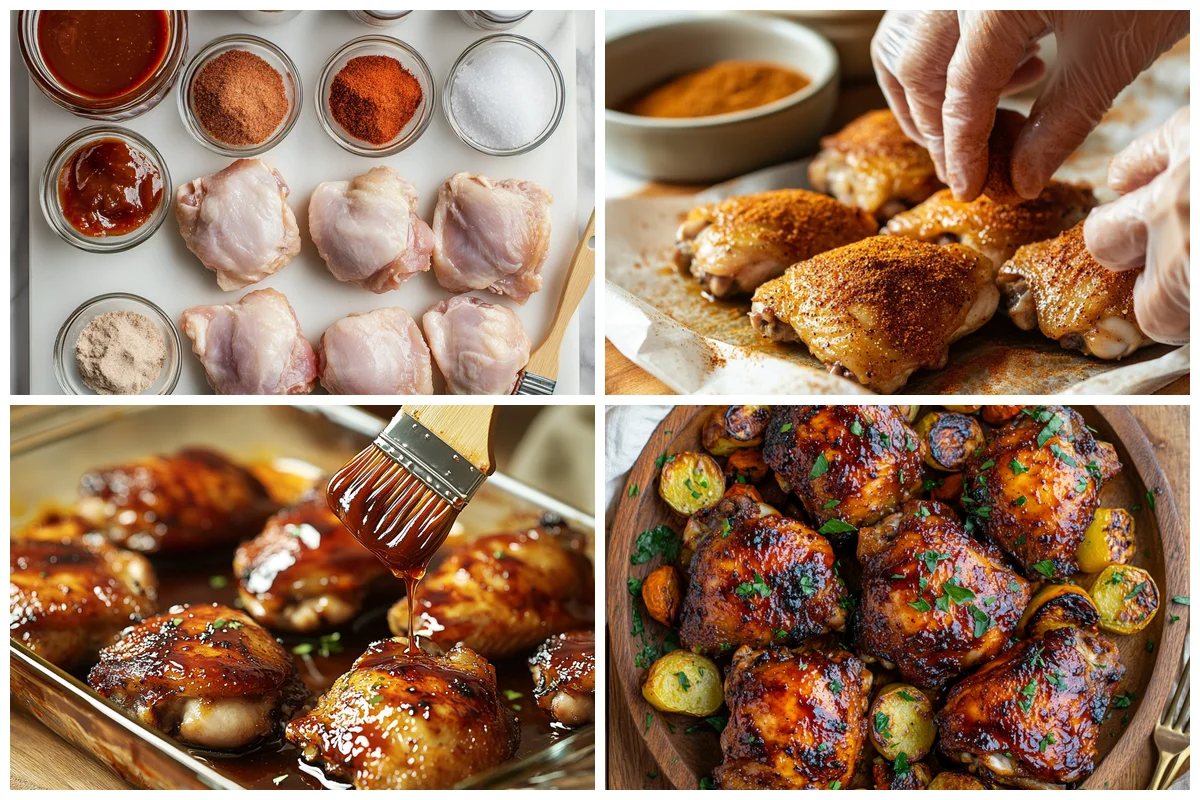
With your ingredients ready, here’s how we’ll turn them into sticky BBQ perfection, First, I pat my oven baked chicken thighs completely dry—this helps the seasoning stick better. If you enjoyed this, you might also like Honey Balsamic Chicken Thighs With Goat Cheese Mashed Potatoes And Roasted Carrots. Then I drizzle them lightly with olive oil and massage it in like I’m giving them a mini spa treatment. For the rub, I mix 2 parts brown sugar with 1 part each of smoked paprika, garlic powder, and salt. The sugar creates this gorgeous caramelization later. Last time I made these, my neighbor texted asking what smelled so good before I’d even put them in the oven!
Oven Setup and Initial Baking
I preheat my oven to 400°F and place the rack in the center—no guessing games here. A baking sheet with foil makes cleanup easy, but I always use a wire rack so the heat circulates evenly. The thighs go in skin-side up for 25 minutes uncovered. This renders the fat and gets the skin crispy. Pro tip: If you’re using boneless baked chicken thighs, check them 5 minutes earlier since they cook faster. For more information, see Smoked BBQ Chicken Thighs Recipe.
Sauce Application and Finishing
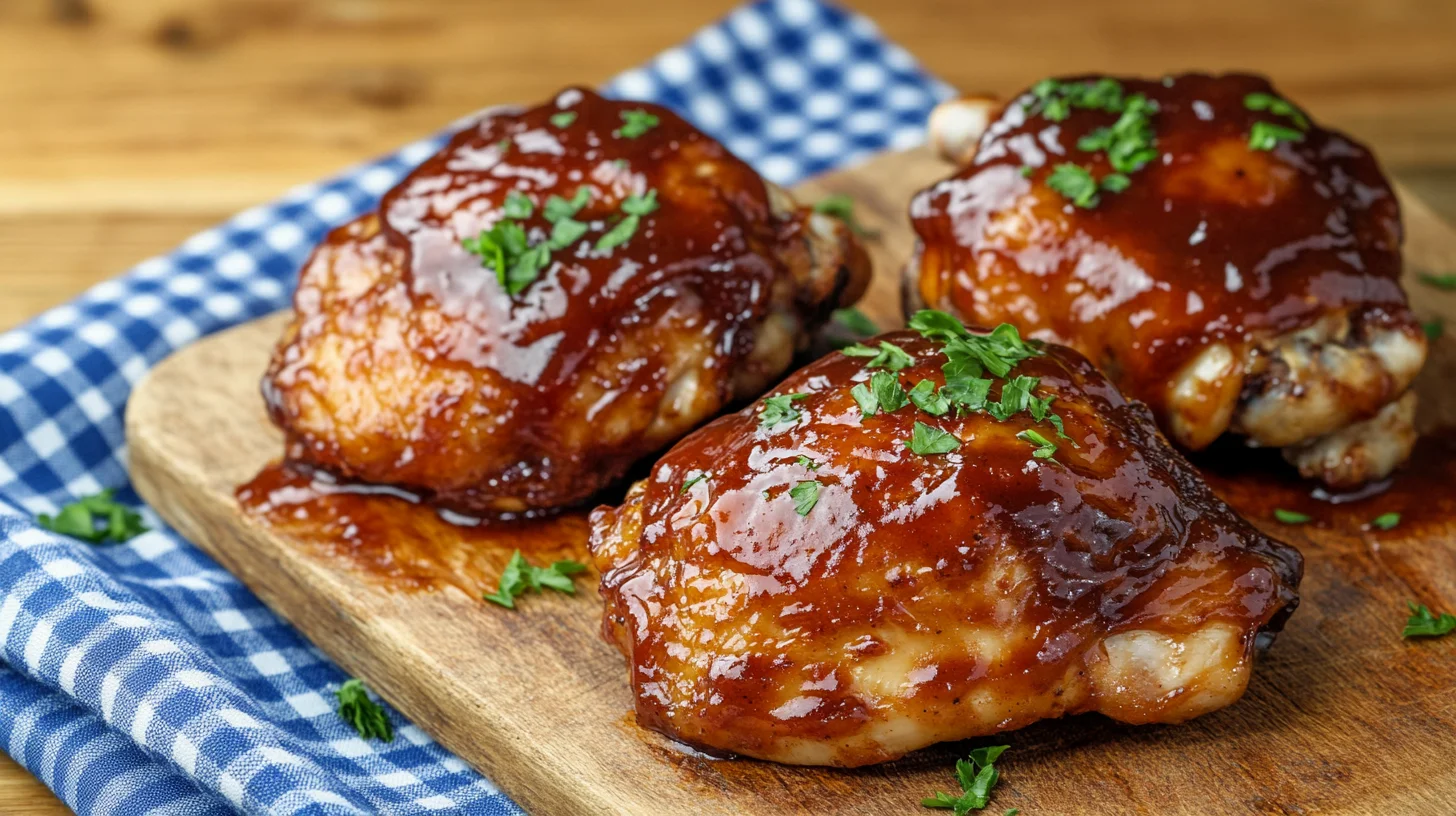
Now for the fun part! I brush on my BBQ chicken recipe sauce during the last 10 minutes only. Any earlier and the sugar burns. I do two thin coats, letting the first set before adding more. Sometimes I’ll pop them under the broiler for 60 seconds to get those sticky, charred edges. My kids call these “candy chicken” because the glaze gets so perfectly shiny. Leftovers? Ha—good luck with that! For more information, see Chicken From Farm to Table.
Pro Tips for Crispy Skin and Juicy Meat
Your chicken’s almost done, but these tricks will take it from good to legendary, Nothing beats biting into BBQ baked chicken thighs with skin so crisp it crackles. I’ve ruined enough batches to know these tricks by heart—now my thighs come out juicy inside every time. Last summer, I served these at a backyard party, and three people asked for the recipe before they’d even finished their plates. Here’s exactly how I nail it. For more information, see Honey BBQ Chicken Thighs.
Achieving Crispy Chicken Skin
Patting the skin bone-dry with paper towels is non-negotiable—I learned this the hard way after a sad, steamed-skin disaster. I rub a tiny bit of baking powder into the skin (just 1/2 tsp per pound), which works like magic to dry it out further. For oven baked chicken thighs, I always start them skin-side up at high heat. That initial blast of 400°F renders the fat slowly, so you get shatter-crisp results without burning.
Temperature and Timing Mastery
My oven runs hot, so I use an inexpensive thermometer to keep it honest. Thighs are forgiving, but pulling them at 195°F (not the usual 165°F!) makes the collagen melt into silky goodness. For baked chicken thighs boneless, I check at 20 minutes—they cook faster but dry out easier. If the skin isn’t golden yet, I’ll shift them to the top rack for 2 minutes under the broiler.
Resting and Serving Techniques
Resting is where most folks mess up. I tent the thighs loosely with foil for 8 minutes—any longer and the steam softens the skin. Serve them on a warm platter (I pop mine in the microwave for 30 seconds first) so the BBQ chicken recipe glaze stays glossy. Pro tip: Drizzle extra sauce after plating to keep that crunch intact. Trust me, it’s worth the wait.
Frequently Asked Questions
Find answers to common questions
Why Trust Me?
I’ve been perfecting my BBQ Baked Chicken Thighs recipe for over 5 years, making it nearly every other week for family dinners. I learned the hard way that overcooking them dries out the meat, so now I swear by my method of baking them at a lower temperature for juicier results. My kids still beg for this dish, and my husband calls it his favorite weeknight meal—it’s a crowd-pleaser every time!
BBQ Baked Chicken Thighs
Ingredients
Method
- Step 1: Preheat oven to 400°F (200°C). Pat chicken thighs dry with paper towels.
- Step 2: Rub thighs with olive oil, then season evenly with paprika, garlic powder, onion powder, salt and pepper.
- Step 3: Arrange thighs skin-side up on a foil-lined baking sheet. Bake for 25 minutes uncovered.
- Step 4: Meanwhile, whisk ketchup, vinegar, brown sugar, Worcestershire and mustard in a small saucepan over medium heat for 3 minutes until thickened.
- Step 5: Remove chicken from oven. Brush generously with BBQ sauce, reserving some for serving.
- Step 6: Return to oven and bake 10 more minutes until internal temperature reaches 165°F and skin is crispy.
- Step 7: Let rest 5 minutes before serving with extra sauce.
Notes