Perfect Peanut Butter Blossoms: Top 5 Tips!
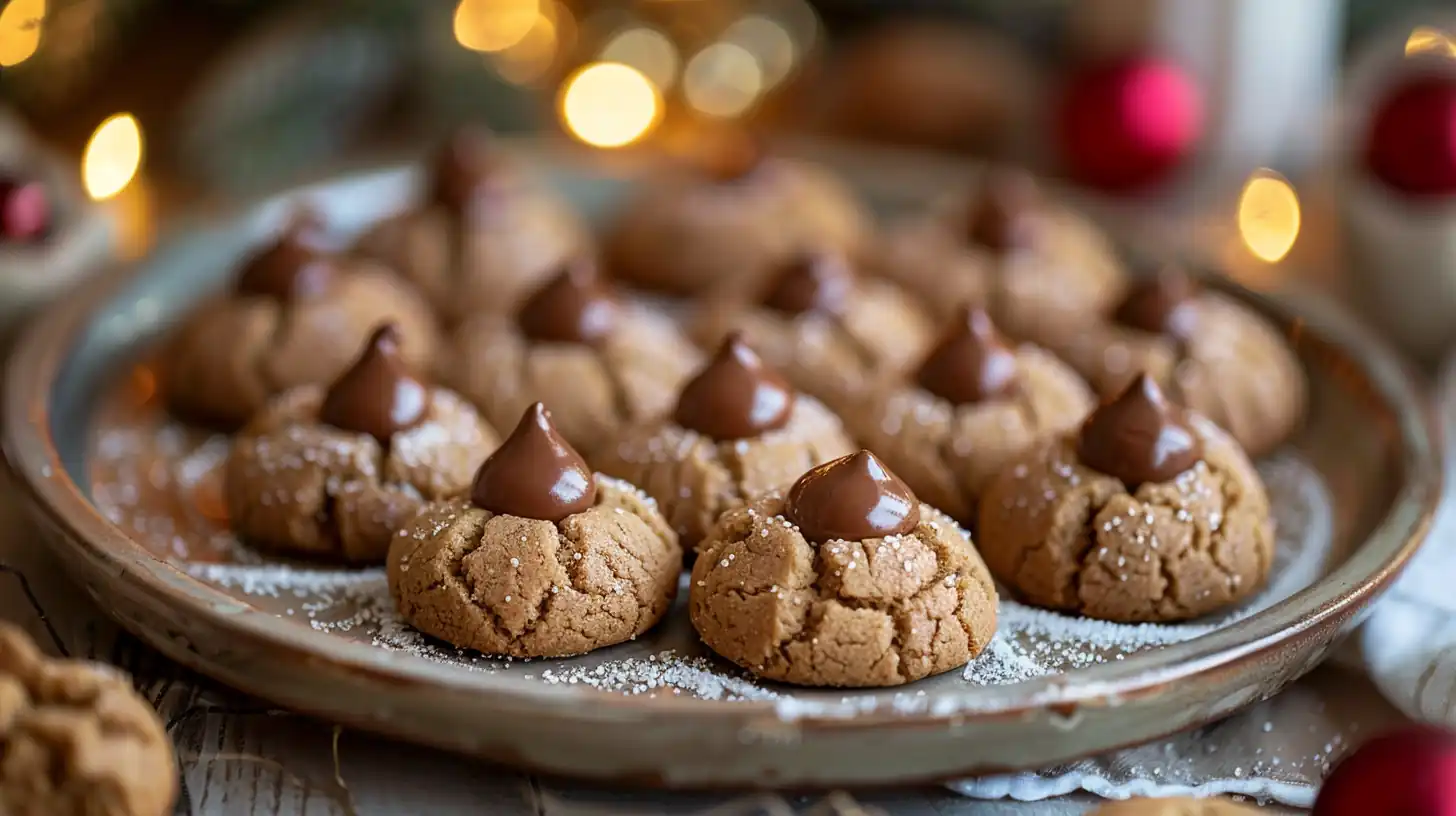
If you’ve ever had the pleasure of biting into Peanut Butter Blossoms, you know it’s an experience akin to a warm hug in dessert form. These delightful cookies are the perfect marriage of rich peanut butter flavor and the sweet kiss of a Hershey’s chocolate drop. Peanut Butter Blossoms are the kind of treat that can make even the most ordinary day feel a bit special.
Let’s face it, there’s something magical about Peanut Butter Blossoms. It’s like they’re not just cookies, but little circles of happiness. Whether you’re a seasoned baker or a novice looking to impress, making these cookies will certainly cement your status as the culinary star among friends and family.
Peanut Butter Blossoms have been a staple in holiday cookie exchanges and bake sales, and for good reason. Their universal appeal and the simplicity of their creation make them a favorite across the board. If you’ve never made them before, don’t worry — you’re about to become a Peanut Butter Blossom aficionado.
7 Reasons Peanut Butter Blossoms Will Blow Your Mind
These cookies are more than just a blend of flavors — they’re a testament to culinary creativity and comfort combined. First introduced in the 1950s, Peanut Butter Blossoms gained popularity quickly, capturing the hearts and palates of cookie lovers everywhere. For more ideas, check out our guide on Chewy Peanut Butter Cookies.
What makes these cookies stand out? For starters, it’s their unique blend of textures. The peanut butter cookie base is crumbly yet tender, providing the perfect canvas for the crowning chocolate. And let’s not forget the nostalgia factor. Many people recall eating Peanut Butter Blossoms as kids, a connection that gives each bite a sense of comforting déjà vu.
This recipe allows for easy variations too. Want to switch things up? You can vary the chocolate topping with dark chocolate or even a white chocolate kiss. The possibilities are as endless as your imagination. Plus, they’re incredibly easy to make. Even if you’re not a baking expert, you can still achieve perfection. For more about the history and variations of these cookies, you might find this page insightful.
Ingredients

- 1 cup granulated sugar
- 1 cup packed brown sugar
- 1 cup peanut butter
- 1 cup butter, softened
- 2 large eggs
- 3 cups all-purpose flour
- 2 teaspoons baking soda
- ½ teaspoon salt
- 60 Hershey’s Kisses, unwrapped
Instructions
- Preheat your oven to 375°F (190°C). You’ll want to give it a chance to get nice and toasty before your cookies go in.
- In a large bowl, blend the granulated sugar, brown sugar, peanut butter, and butter until smooth. Trust me, this is where you want to invest some elbow grease.
- Add in the eggs one at a time, ensuring that each is well mixed before adding the next.
- In a separate bowl, whisk together the flour, baking soda, and salt. Gradually mix these dry ingredients into the wet mixture.
- Roll the dough into 1-inch balls and place them on ungreased baking sheets. Bake each batch for 8 to 10 minutes until they’re just starting to set.
- As soon as the cookies come out of the oven, press a Hershey’s Kiss into the center of each. Watch the magic happen as the kiss slightly melts into the cookie.
- Let them cool on wire racks, resisting the urge to eat one while it’s still too hot. Patience is a virtue, even in baking!
Storage Tips for Freshness
To keep your Peanut Butter Blossoms fresh and delicious, proper storage is key. Store cookies in an airtight container at room temperature. They’ll generally keep well for up to a week.
If you’re planning to savor them over a longer period, consider freezing them. Wrap each cookie individually in plastic wrap before placing them in a freezer bag. When you’re ready to enjoy, let them thaw at room temperature or warm them gently in the oven for a freshly baked feel.
5 Game-Changing Benefits of Making Peanut Butter Blossoms
- Easy and Quick to Make: In less than an hour, you can have fresh cookies from mixing bowl to your mouth.
- Versatile and Customizable: You can experiment with different chocolates or add-ins like nuts or sprinkles for a personalized touch.
- Perfect for All Occasions: From parties to quiet nights at home, these cookies are always a good idea.
- Kid-Friendly: Both in taste and preparation, these are a fantastic way to get kids involved in baking.
- Universal Appeal: They’re a crowd-pleaser, adored by both peanut butter lovers and chocolate enthusiasts.
These benefits highlight why Peanut Butter Blossoms hold their place as a beloved treat. To understand more about their nutritional benefits, you might check this nutritional guide.
Common Mistakes to Avoid
- Skipping the preheat: Always ensure your oven is fully preheated to get the best textured cookies.
- Overbaking: They should be slightly underbaked when pulled from the oven; they’ll firm up as they cool.
- Forgetting the Kiss: Press it immediately after the cookies are out; this helps it adhere without melting completely.
- Storing with other cookies: They can absorb odors from other baked goods, so keep them separated.
Alternatives and Variations
Want to shake things up with your Peanut Butter Blossoms? How about trying an almond butter variation for a nuttier flavor? Or go for sunflower seed butter for a nut-free option.
If you’re feeling adventurous, try adding a teaspoon of cinnamon or a pinch of cayenne for a spicy kick. For chocolate lovers, dark or white chocolate kisses can provide a delightful twist on the classic recipe.
Pro Tips for Success
- Use reliable peanut butter – Avoid natural peanut butters that separate; they affect the dough texture.
- Chill dough if possible – Especially if your kitchen is warm, this prevents spreading and keeps shapes crisp.
- Roll cookies in sugar – The light granulated sugar coating gives sparkle and a gentle crisp.
- Bake one sheet at a time if needed – For uniform results, especially if your oven has hot spots. Simply Recipes
- Press the chocolate at just the right time – Immediately after baking ensures the kiss sets well without melting completely.
- Let cookies rest before stacking – To avoid chocolate kisses sticking together and to preserve the crackled tops.
Flavor Variations
- Holiday sparkle: Use colored sanding sugar (red/green) instead of plain sugar before baking.
- Mini peanut butter cups: Instead of kisses, press a mini peanut butter cup for an extra peanut-butter punch.
- Dark chocolate twist: Use dark chocolate kisses or truffles for richer finish.
- Sunflower-seed butter version: For nut-allergy friendly version, replace peanut butter with sunflower-seed butter—but keep in mind texture/flavor will differ.
- Crunchy peanut butter version: For extra texture, swap half the creamy peanut butter for crunchy—but cookie may spread more.
- Add salt top: After pressing the chocolate, sprinkle a tiny pinch of sea salt on top for enhanced contrast.
Serving Suggestions
These peanut butter blossoms are ideal for:
- Holiday cookie platters or swaps.
- School bake sales or family bake days—kids can help roll and place kisses.
- Gifting in cellophane bags tied with ribbon—flatten gently in a single layer to preserve shape.
- Pairing with a glass of milk, hot cocoa or coffee—peanut butter + chocolate is a classic match.
[See also: Related Recipe Link]
Storage and Freezing Instructions
Room Temperature: Store in an airtight container at room temperature for up to 3-5 days. Keep layers separated with parchment or wax paper to avoid sticking.
Freezer: You can freeze:
- Dough: Roll into balls, place on baking sheet to freeze until firm, then transfer to freezer-safe bag for up to 3 months. When ready, bake directly from frozen (add 1-2 minutes bake time). Sally’s Baking
- Baked cookies: Once fully cooled, place in freezer-safe container with parchment layers; freeze up to 1-2 months. Thaw at room temperature before serving.
Tip: If chocolate becomes dull or “bloomed” from freezing (white film), it’s still safe but less glossy.
Nutrition Facts (Estimated per cookie)
- Calories: ~115 kcal (depending on size and chocolate used) BettyCrocker.com
- Protein: ~2-4 g
- Carbohydrates: ~14-18 g
- Fat: ~6-7 g
(Note: values vary by ingredients and portion size.)
Frequently Asked Questions
Find answers to common questions
Final Thoughts
Peanut Butter Blossoms are genuinely the gift that keeps on giving, from their delightful taste to the joy of sharing them with loved ones. They’re the perfect balance of sweet and salty, crumbly and chewy. Whether you’re a peanut butter fanatic or a chocolate lover, this cookie truly offers the best of both worlds.
So why not roll up your sleeves and give these a try? They’re straightforward, quick to make, and incredibly rewarding. For more inspiration and baking tips, visit this helpful recipe guide. Happy baking!
PrintPerfect Peanut Butter Blossoms: Top 5 Tips!

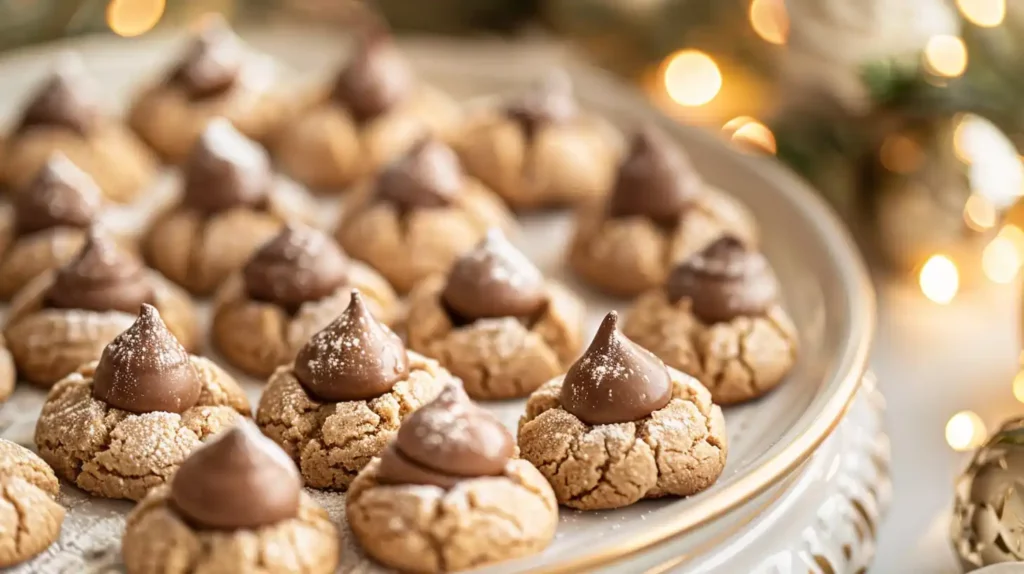
Peanut Butter Blossoms are a classic cookie featuring a soft, tender peanut butter base topped with a sweet Hershey’s Kiss. Beloved for holidays and everyday treats alike, they’re a family favorite.
- Prep Time: 20 minutes
- Cook Time: 10 minutes
- Total Time: 30 minutes
- Yield: 60 cookies
- Category: Dessert
- Method: Baking
- Cuisine: American
- Diet: Vegetarian
Ingredients
1 cup granulated sugar
1 cup packed brown sugar
1 cup peanut butter
1 cup butter, softened
2 large eggs
3 cups all-purpose flour
2 teaspoons baking soda
½ teaspoon salt
60 Hershey’s Kisses, unwrapped
Instructions
1. Preheat oven to 375°F (190°C).
2. In a large bowl, blend granulated sugar, brown sugar, peanut butter, and butter until smooth.
3. Add eggs one at a time, mixing well after each.
4. In a separate bowl, whisk together flour, baking soda, and salt.
5. Gradually combine dry ingredients into the peanut butter mixture until a dough forms.
6. Roll dough into 1-inch balls and place on ungreased baking sheets.
7. Bake for 8–10 minutes until just set.
8. Immediately press a Hershey’s Kiss into each cookie as soon as it comes out of the oven.
9. Let cool on wire racks.
Notes
Store in an airtight container for up to 1 week. Freeze cookies or dough for up to 3 months. Press chocolate gently to avoid cracking the cookies.