5 Secrets to No-Bake Peanut Butter Protein Balls That Actually Work
I’ll never forget the first time I made No-Bake Peanut Butter Protein Balls for my kids’ soccer team. We were rushing out the door when I realized I’d forgotten snacks, so I threw together what I had in the pantry. To my surprise, those little energy bites disappeared faster than the kids could score goals! Now I make them every Sunday for the week ahead. After dozens of batches (and a few failed experiments), I’ve cracked the code for perfect protein balls every time. Here are my five foolproof secrets that’ll help you make the best No-Bake Peanut Butter Protein Balls you’ve ever tasted.
What Are No-Bake Peanut Butter Protein Balls
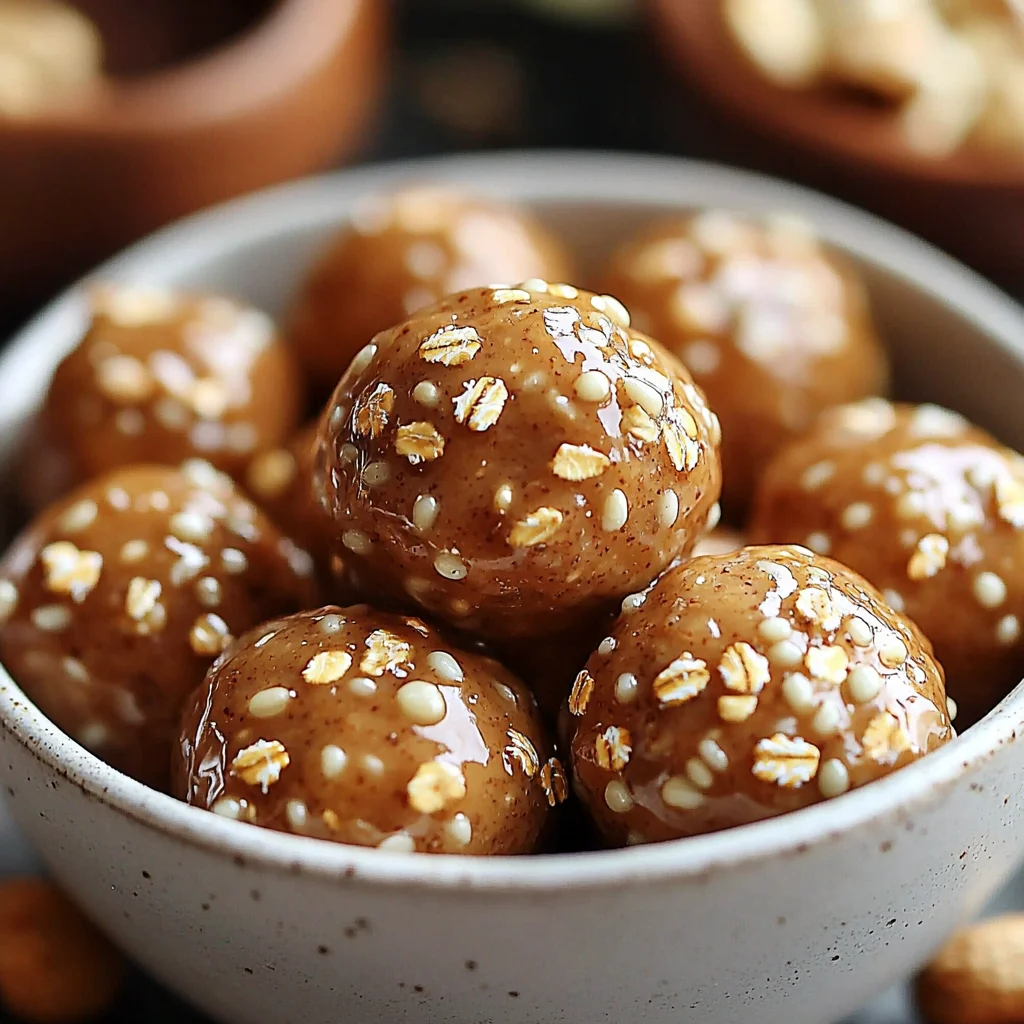
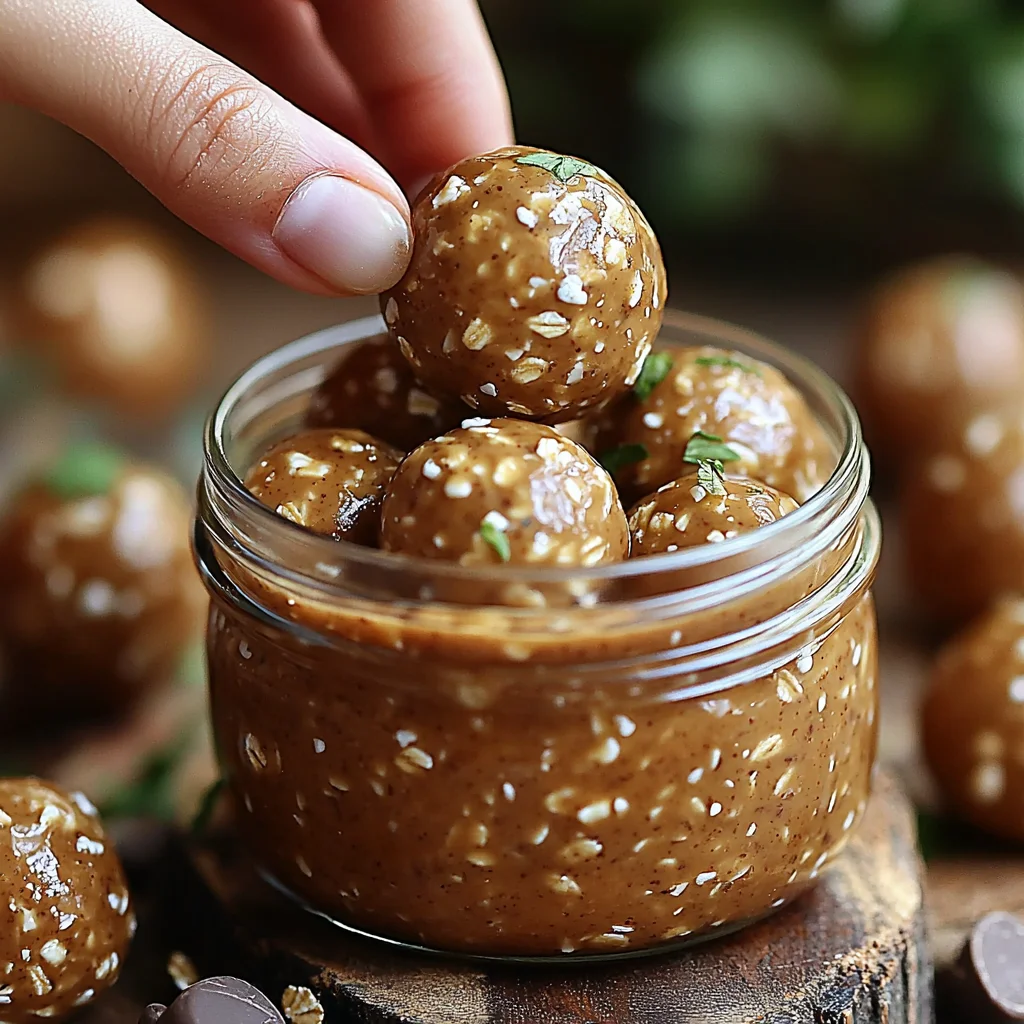
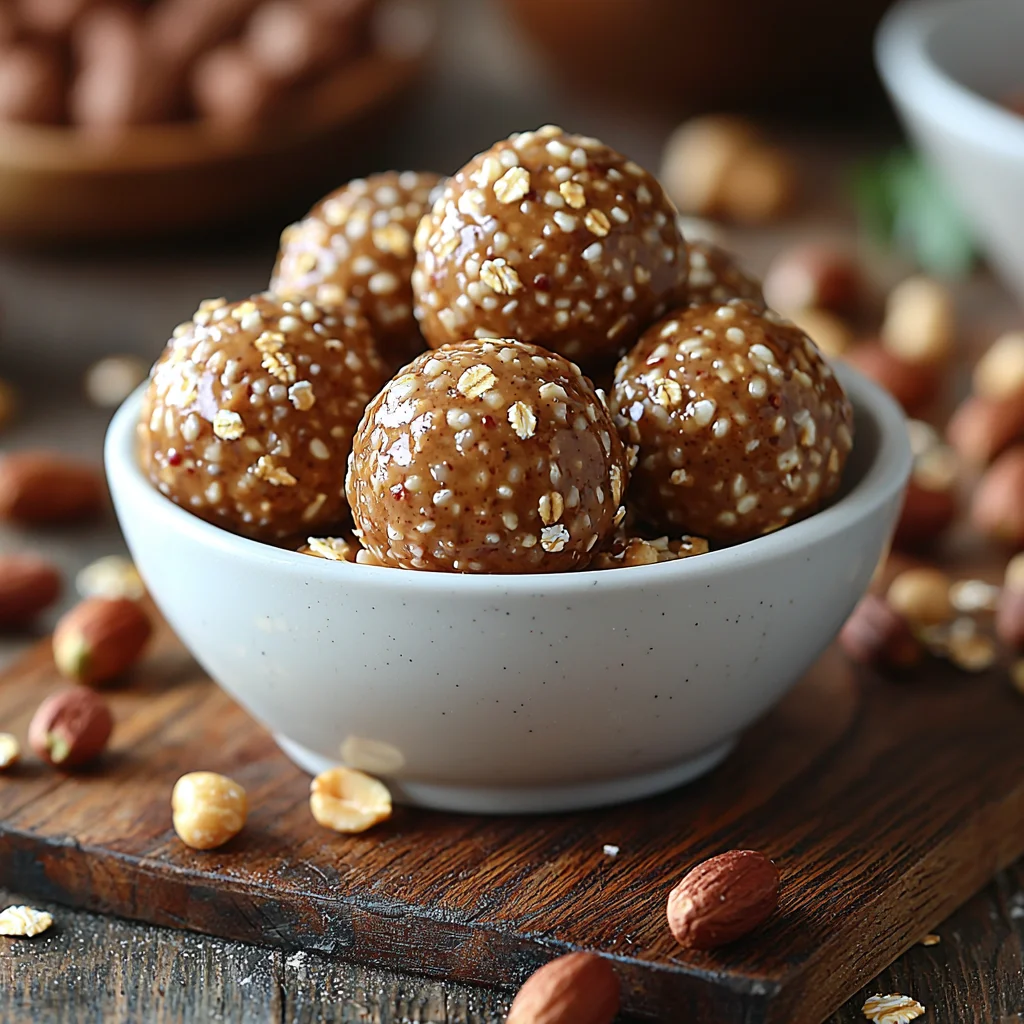
No-Bake Peanut Butter Protein Balls are like nature’s perfect energy bar – just rolled into bite-sized portions. If you enjoyed this, you might also like Chocolate Peanut Butter Ninja Creami. Imagine all the goodness of a protein-packed snack without turning on your oven. These little powerhouses combine creamy peanut butter with oats and honey, creating a texture that’s somehow both chewy and satisfyingly dense. I love how they fit perfectly in lunchboxes, gym bags, or even your coat pocket for an emergency snack attack.
The Perfect Protein Snack
What makes these protein balls so special is how they balance nutrition with convenience. Unlike store-bought protein bars loaded with preservatives, you control every ingredient that goes into them. I’ve found they work equally well as a pre-workout boost or a 3pm office slump buster. My neighbor swears by them as her “mom fuel” during chaotic afternoons. The best part? You can customize them endlessly based on what’s in your pantry or your personal taste preferences.
Why No-Bake Peanut Butter Protein Balls Work So Well
There’s science behind why these little balls satisfy cravings so effectively. If you enjoyed this, you might also like Banana Peanut Butter Coffee Smoothie. The combination of healthy fats from peanut butter and complex carbs from oats creates sustained energy without spikes and crashes. I noticed my kids stopped asking for sugary snacks an hour after eating these, which told me they were working. Plus, the no-bake method preserves all the nutrients that might get lost during baking.
Nutritional Benefits
Each bite packs a serious nutritional punch. The peanut butter provides plant-based protein and heart-healthy fats, while the oats deliver fiber to keep you full. I like adding chia seeds for omega-3s and flaxseed for extra fiber. When my doctor suggested I needed more protein in my diet, these became my go-to solution. They’re naturally sweetened (I use honey or maple syrup), so you avoid the blood sugar rollercoaster of processed snacks.
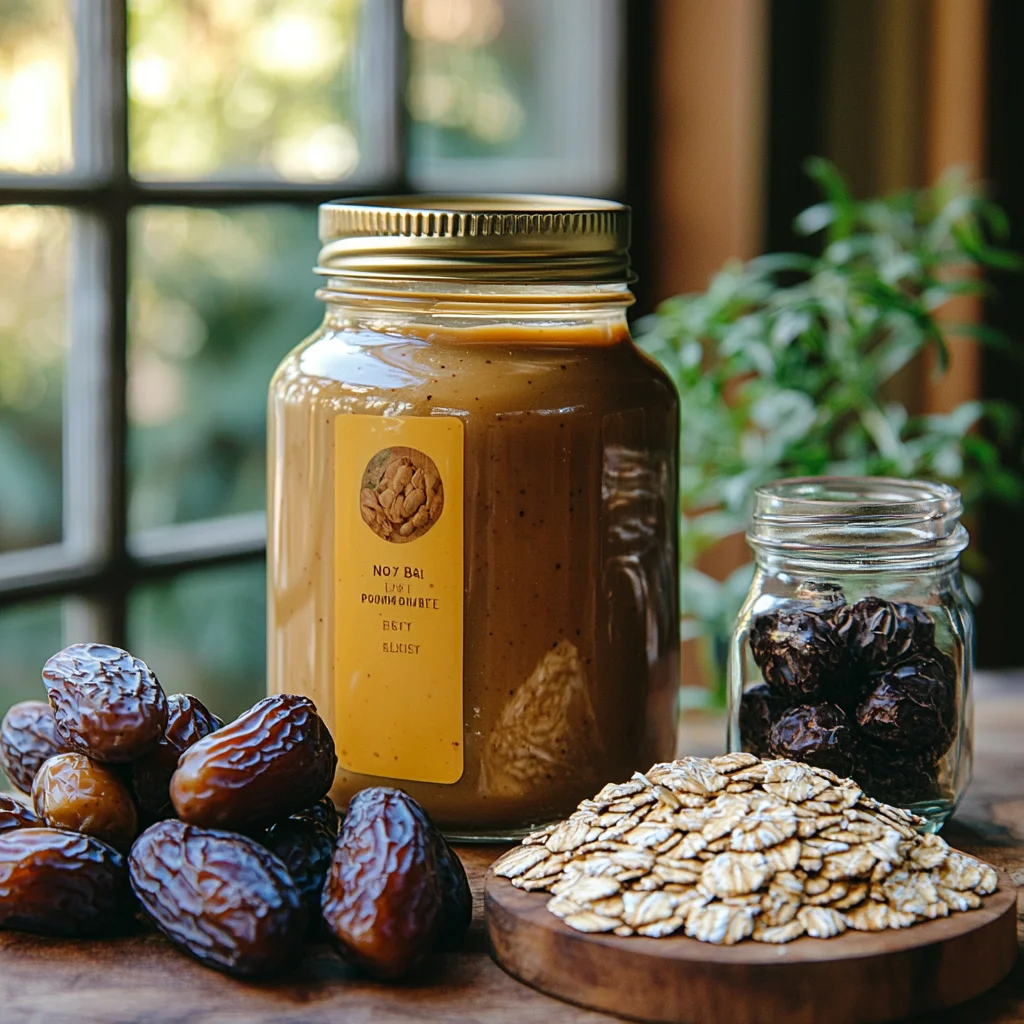
Essential Ingredients for Perfect Protein Balls
After making countless batches, I’ve learned that quality ingredients make all the difference. If you enjoyed this, you might also like Peanut Butter Rice Krispie Treats. You’ll need creamy peanut butter (not the natural separated kind), old-fashioned oats, honey or maple syrup, vanilla extract, and your favorite protein powder. I always keep these staples on hand because you never know when a protein ball emergency might strike! The ratios matter too – too much peanut butter makes them greasy, while too little won’t bind properly.
Choosing the Right Peanut Butter
Not all peanut butters are created equal for this recipe. I made the mistake once of using an all-natural variety that separated, and my balls turned into a crumbly mess. Now I stick with conventional creamy peanut butter for the perfect texture. If you’re watching sugar, look for no-added-sugar varieties. My friend who’s allergic to peanuts swears by almond butter instead – it works just as well!
Step-by-Step Guide to Making Protein Balls
Here’s my fail-proof method that I’ve perfected over the years. First, mix all your dry ingredients in one bowl. Then, warm your peanut butter and honey slightly to make them easier to stir – 15 seconds in the microwave does the trick. Combine everything until it forms a thick, slightly sticky dough. Now comes the fun part – rolling! I use a cookie scoop for uniform sizes, then roll between my palms. Pro tip: wet your hands slightly to prevent sticking.
Rolling Technique That Works
The rolling technique makes all the difference between perfect spheres and lopsided lumps. I scoop about a tablespoon of mixture, then gently roll between my palms using light pressure. If the dough feels too dry, add a teaspoon of milk. Too sticky? A bit more oats. My kids love helping with this part – we turn it into a game to see who can make the roundest balls. Just don’t let them eat all the dough before rolling!
Expert Tips for Perfect No-Bake Protein Balls
Through trial and error, I’ve discovered some game-changing tricks. First, let the mixture rest for 10 minutes after mixing – this allows the oats to absorb moisture for better texture. Second, store them between layers of parchment paper so they don’t stick together. Third, if you’re adding mix-ins like chocolate chips or dried fruit, chop them small for even distribution. My secret weapon? A pinch of sea salt on top to enhance all the flavors.
Texture Troubleshooting
If your protein balls turn out too crumbly, you probably need more binding agent. Try adding an extra tablespoon of peanut butter or honey. For balls that are too soft, refrigerate the mixture for 30 minutes before rolling. I once made the mistake of using quick oats instead of old-fashioned – the texture was all wrong. Now I always keep a big container of old-fashioned oats just for this recipe.
Common Mistakes to Avoid When Making Protein Balls
I’ve made every mistake possible so you don’t have to! The biggest error is using the wrong peanut butter consistency – too oily or too dry both cause problems. Another pitfall is overmixing, which can make the balls tough. And whatever you do, don’t skip the chilling step – I learned this the hard way when my first batch fell apart at room temperature. Measure your ingredients carefully too – eyeballing can lead to texture disasters. For more information, see King Arthur Baking Guide.
Storage Mistakes That Ruin Freshness
Proper storage is crucial for keeping your protein balls fresh. Never store them in a regular plastic bag – they’ll stick together terribly. I use an airtight container with parchment between layers. Also, avoid leaving them at room temperature for more than a few hours, especially in warm weather. My biggest storage fail? Freezing them without proper wrapping – they developed freezer burn after just a week. Now I double-wrap them in plastic before freezing. For more information, see Baking Basics.
Creative Variations and Substitutions for Protein Balls
One of my favorite things about this recipe is how adaptable it is. For chocolate lovers, add cocoa powder and mini chocolate chips. Craving something tropical? Try coconut flakes and dried pineapple. I’ve even made a “cookie dough” version with vanilla protein powder and mini M&Ms. When my niece visited with her vegan diet, we used maple syrup instead of honey and it worked beautifully. The possibilities are endless! For more information, see Serious Eats Baking.
Allergy-Friendly Alternatives
Food allergies shouldn’t stop anyone from enjoying these treats. For nut allergies, sunflower seed butter works wonderfully – just know it will turn the balls slightly green (totally normal!). Gluten-free? Use certified GF oats. My sister can’t do dairy, so we use plant-based protein powder. Even the honey can be swapped for agave if needed. I love how inclusive this recipe can be with simple substitutions.
Storage and Meal Prep Tips for Protein Balls
These are the ultimate meal prep snack – I make a big batch every Sunday. They keep fresh in the fridge for up to two weeks when stored properly. For longer storage, freeze them in single-serving portions. I pack them in my lunchbox frozen – by midday they’re perfectly thawed. Label your containers with dates though – I once forgot how long some had been in the freezer (oops!). They also make great gifts when packaged in cute little bags or boxes.
Freezing for Long-Term Storage
Freezing is my secret to always having healthy snacks on hand. I flash-freeze the balls on a baking sheet first, then transfer to freezer bags. This prevents them from sticking together. They’ll keep for up to 3 months this way. When I’m packing my gym bag in the morning, I just grab a frozen one – it’s thawed by my post-workout snack time. My kids love finding these in their lunchboxes too – it’s like a little cold treat.
Frequently Asked Questions
How long do no-bake protein balls last?
In my experience, properly stored No-Bake Peanut Butter Protein Balls stay fresh in the refrigerator for about 10-14 days. I always use an airtight container with parchment paper between layers to prevent sticking and moisture buildup. For longer storage, freezing is your best bet – they’ll maintain great texture for up to 3 months. Just thaw at room temperature for about 30 minutes before eating. I can tell when mine are past their prime because they start to dry out or develop an off smell. If you’re meal prepping, I recommend making a double batch and freezing half for later in the month.
Why Trust Me?
I’ve been making No-Bake Peanut Butter Protein Balls weekly for the past five years – that’s over 250 batches! My family of four goes through about two dozen each week, so I’ve had plenty of practice perfecting the recipe. The biggest lesson I’ve learned? Letting the mixture rest before rolling prevents crumbly balls – a trick I discovered after three failed batches in one afternoon. Now even my picky nephew asks for “Aunt Sarah’s power balls” whenever he visits.
Final Thoughts
No-Bake Peanut Butter Protein Balls have become such a staple in my kitchen that I can’t imagine life without them. They’ve saved me from countless hangry moments and provided quick nutrition when time was tight. What started as a desperate snack solution has turned into a beloved family tradition. I hope these tips help you create your own perfect batch!
Ready to give them a try? Whip up a batch this weekend and see how quickly they disappear. Trust me, once you experience how easy and delicious homemade protein balls can be, you’ll never go back to store-bought bars. What mix-ins will you try first in your protein balls?
No-Bake Peanut Butter Protein Balls
Ingredients
Method
- Line a baking sheet with parchment paper.
- In a large bowl, mix peanut butter and honey until smooth.
- Stir in vanilla extract, then gradually add oats and protein powder.
- Fold in flaxseed, salt, and chocolate chips until fully incorporated.
- Chill mixture in refrigerator for 10 minutes for easier handling.
- Roll into 1-inch balls (about 1 tbsp each).
- Optional: Roll balls in chia seeds for extra crunch.
- Store in airtight container in refrigerator for up to 2 weeks.