Delicious Gingerbread Truffles: 5 Easy Steps!
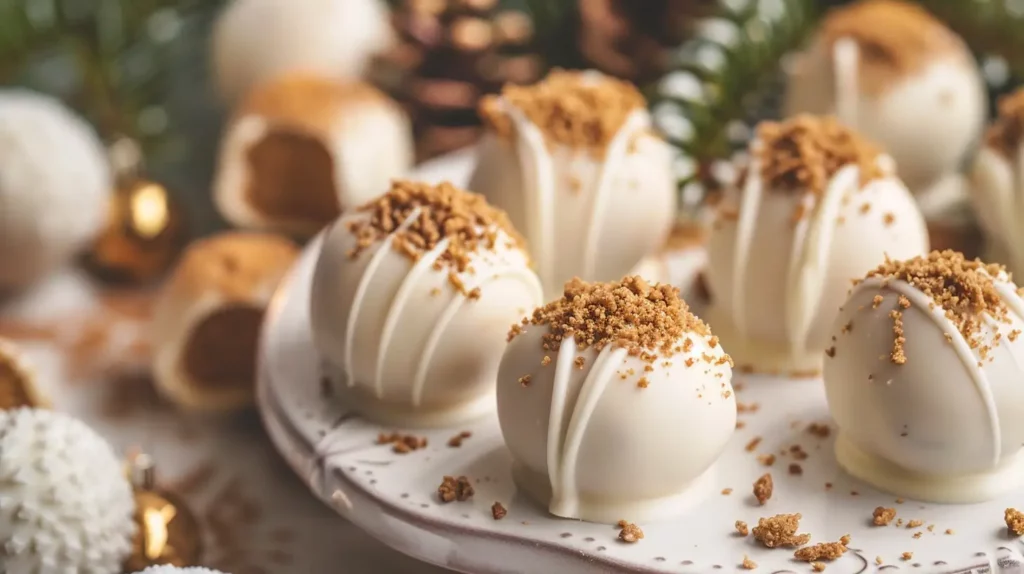
Gingerbread Truffles are the holiday treat you never knew you needed, combining the spicy warmth of gingerbread with the creamy decadence of truffles. Imagine biting into a perfect sphere of earthiness that melts in your mouth, leaving behind hints of molasses, cinnamon, and a whisper of nutmeg. Now, you might wonder, what magic goes into these Gingerbread Truffles? Fear not; we’ve got you covered with every detail to craft these indulgent delights yourself.
These Gingerbread Truffles are sure to become the star of your festive gatherings, enticing both young and old alike. Picture the layers of flavor unfolding as you savor each bite, leaving a sweet nostalgia that echoes family gatherings and holiday cheer. Whether you’re a seasoned baker or a novice in the kitchen, the journey to create Gingerbread Truffles is as delightful as the destination.
7 Reasons These Gingerbread Truffles Will Blow Your Mind
Why do these Gingerbread Truffles stand out in a sea of holiday treats? It’s not just their irresistible taste but the harmony of textures and flavors they bring to the table. Here’s why you need to incorporate them into your festive repertoire:
First, the combination of gingerbread spices with a creamy filling is nothing short of genius. It mirrors the classic holiday cookie but in a more sophisticated form. Second, they are surprisingly easy to make, with no baking required. Gingerbread’s historical significance lends an air of tradition to your modern treat. Third, these truffles are customizable, allowing you to play with flavors and coatings. Fourth, they make for a beautiful gift, wrapped in cellophane with a festive ribbon. Fifth, their bite-sized nature means you can indulge without overindulging. Sixth, they store beautifully, maintaining their flavor and texture for days. Lastly, their unique blend of spices evokes cozy warmth synonymous with holiday gatherings.
Ingredients
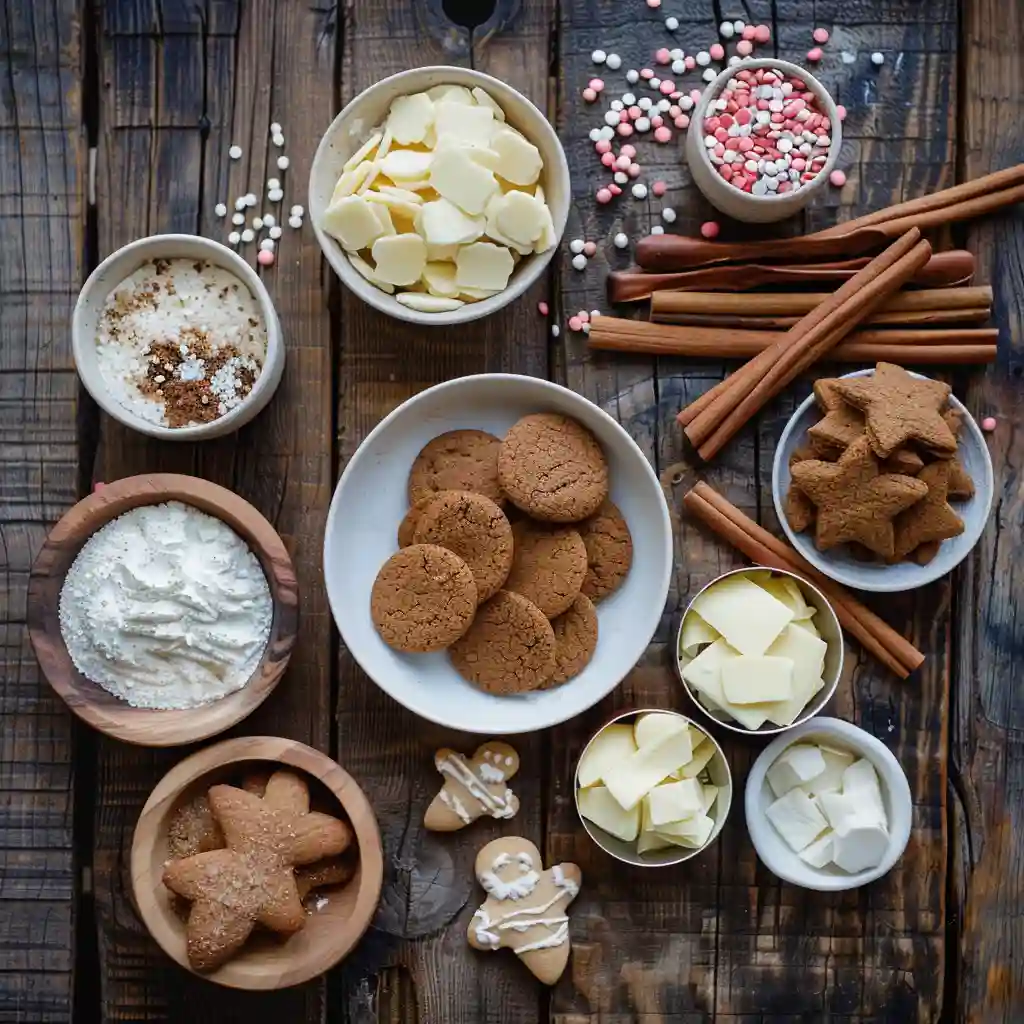
- 1 cup of gingerbread cookies, finely crushed
- 4 oz cream cheese, softened
- 1 cup of white chocolate, chopped
- 1 tsp ground cinnamon
- 1/2 tsp ground ginger
- 1/4 tsp nutmeg
- 1/4 cup molasses
- Pinch of salt
- Optional: Chopped nuts, sprinkles, or cocoa powder for coating
Instructions
- In a mixing bowl, combine the crushed gingerbread cookies, softened cream cheese, molasses, and a pinch of salt. Mix until the ingredients form a dough-like consistency.
- Roll the mixture into small balls, about one inch in diameter. Place them on a baking sheet lined with parchment paper and refrigerate for about 30 minutes.
- While the truffles chill, melt the white chocolate in a microwave-safe bowl, stirring in 30-second intervals until smooth. Stir in the ground cinnamon, ginger, and nutmeg.
- Dip the chilled truffle balls into melted chocolate, using a fork to coat them evenly. Allow excess chocolate to drip back into the bowl.
- Place the coated truffles back onto the parchment-lined sheet. If desired, sprinkle with nuts, sprinkles, or cocoa powder before the chocolate sets.
- Refrigerate the truffles until the chocolate is firm, about 15 minutes. Enjoy your Gingerbread Truffles!
Storage Tips
To keep your Gingerbread Truffles fresh and delicious, store them in an airtight container in the refrigerator. They will stay good for up to two weeks, making them a perfect make-ahead treat for holiday entertaining. For an extended shelf life, you can freeze them for up to three months. Just be sure to thaw them in the refrigerator before serving to maintain their creamy texture.
5 Game-Changing Benefits of Gingerbread Truffles
- These truffles are the perfect balance of sweet and spicy, creating a unique flavor profile.
- Convenience is key: they’re no-bake, so you can whip them up without needing an oven.
- They make an elegant and thoughtful homemade gift for friends and family.
- From holiday parties to cozy nights in, their versatility in presentation makes them suitable for any occasion.
- Including spices like ginger and cinnamon could offer health benefits such as anti-inflammatory properties and improved digestion.
Common Mistakes to Avoid
- Skipping the chilling step: This can cause the truffles to lose their shape when coated with chocolate.
- Using low-quality chocolate: Opt for good quality chocolate to ensure a smooth and rich finish.
- Overmixing the dough: This can make the truffles tough instead of creamy.
- Ignoring the spice measurement: The balance of spice is crucial for the perfect gingerbread flavor.
Pro Tips for Success
- Use fully cooled cookie crumbs; warm crumbs can soften the cream cheese too much.
- If the filling becomes too sticky to roll, chill it briefly before shaping.
- Make sure your truffles are cold before dipping for the cleanest results.
- Add decorations right after dipping, before the chocolate sets.
- Store the truffles in a cool place to prevent the chocolate from melting.
Alternatives and Variations
If you’re looking for ways to switch up your Gingerbread Truffles, consider these variations:
- Dark chocolate coating: Swap white chocolate for dark chocolate for a richer flavor.
- Vegan option: Use vegan cream cheese and dairy-free chocolate for a plant-based treat.
- Nutty twist: Add a tablespoon of finely chopped nuts to the dough for added texture.
- Flavor infusion: Incorporate a splash of vanilla or almond extract for an extra layer of flavor.
Flavor Variations
If you love the idea of customizing your Gingerbread Truffles, here are a few creative flavor twists.
• White Chocolate Peppermint: Add a small amount of crushed candy cane to the coating or topping.
• Dark Chocolate Spice: Dip in dark chocolate and add a sprinkle of cinnamon sugar on top.
• Maple Gingerbread: Add a splash of maple extract to the filling for a deeper sweetness.
• Almond Spice: Mix in a little almond extract for a warm, nutty aroma.
• Latte-Inspired Truffles: Add a teaspoon of instant espresso powder to the crumb mixture.
Serving Suggestions
Gingerbread Truffles are extremely versatile and look beautiful in holiday presentations. Serve them on a dessert board along with other seasonal favorites, or add them to cookie tins for homemade gifting. You can pair them with coffee, hot chocolate, or mulled cider to highlight the warm spice flavors. They also work well as small after-dinner treats during holiday gatherings.
See also : Amazing Salted Caramel Fudge Truffles: 5 Easy Steps
Storage and Freezing Instructions
Store Gingerbread Truffles in an airtight container in the refrigerator for up to one week. If you want to make them ahead for holiday events, you can freeze the undipped truffle centers for up to two months. Thaw them just enough to dip in chocolate. Fully finished truffles can also be frozen, but the chocolate may develop light cosmetic frosting after thawing. They will still taste delicious.
Nutrition Facts (Per Serving)
Below are estimated nutrition details for a single truffle, based on typical ingredient amounts.
Calories: About 120
Protein: About 2 grams
Carbohydrates: About 14 grams
Fat: About 7 grams
Fiber: Less than 1 gram
Sodium: About 70 milligrams
Frequently Asked Questions
Find answers to common questions
Wrapping Up
In the world of holiday treats, Gingerbread Truffles are a standout, offering a fusion of tradition and indulgence that few can resist. Whether you’re gifting them or savoring them yourself, the experience is like a warm embrace of seasonal joy. With each bite, the marriage of gingerbread’s comforting spices and creamy chocolate is truly a delight to the senses.
So why wait? Gather your ingredients and create these delicious delights, bringing the warmth of the season into your home. For more ideas on festive treats, check out this gingerbread recipe collection. Happy truffle making!
PrintDelicious Gingerbread Truffles: 5 Easy Steps!
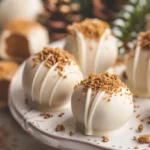
These Gingerbread Truffles are a cozy, no-bake holiday treat featuring the warm spices of gingerbread, blended with cream cheese, coated in rich chocolate, and customizable with festive toppings.
- Prep Time: 10 minutes
- Cook Time: 0 minutes
- Total Time: 45 minutes (includes chilling)
- Yield: 20 truffles
- Category: Dessert
- Method: No-Bake
- Cuisine: American
- Diet: Vegetarian
Ingredients
1 cup gingerbread cookies, finely crushed
4 oz cream cheese, softened
1 cup white chocolate, chopped
1 tsp ground cinnamon
1/2 tsp ground ginger
1/4 tsp nutmeg
1/4 cup molasses
Pinch of salt
Optional: Chopped nuts, sprinkles, or cocoa powder for coating
Instructions
1. In a mixing bowl, combine crushed cookies, softened cream cheese, molasses, and salt until a dough forms.
2. Roll into 1-inch balls and place on parchment-lined sheet; refrigerate for 30 minutes.
3. Melt white chocolate in microwave, stirring every 30 seconds until smooth.
4. Stir cinnamon, ginger, and nutmeg into melted chocolate.
5. Dip chilled balls in chocolate, coating evenly, and return to parchment.
6. Sprinkle toppings before chocolate sets.
7. Refrigerate again until firm, about 15 minutes. Enjoy!
Notes
Store in an airtight container in the fridge for up to 2 weeks, or freeze for 3 months. Thaw in the fridge before serving.