Amazing Breakfast Pancake Poppers: 5 Simple Steps!
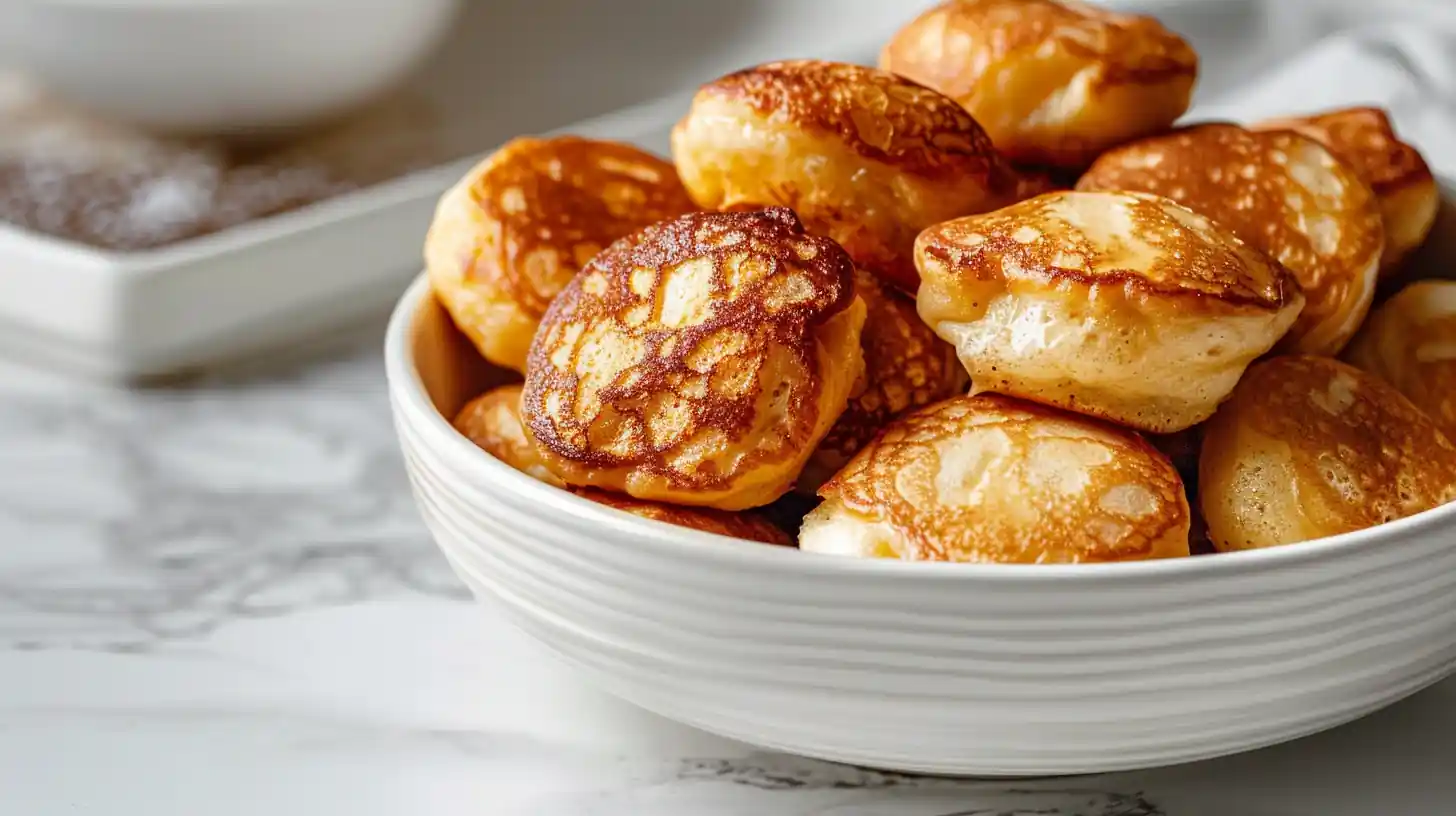
Breakfast Pancake Poppers are bite-sized breakfast wonders that combine everything you love about pancakes into adorable, grab-and-go morsels. These little golden puffs have taken the breakfast world by storm, and honestly, it’s hard to blame anyone for going absolutely wild for them. Whether you’re feeding a family, prepping for the week, or just want something fun and delicious to start your morning, breakfast pancake poppers deliver pure joy in every bite. They’re like pancakes and muffins had a delightful baby, and that baby is absolutely irresistible.
What makes these breakfast pancake poppers so special is their incredible versatility. You can stuff them with sausage, fruit, chocolate chips, or keep them plain and dip them in syrup. They freeze beautifully, reheat in minutes, and taste just as amazing on day seven as they do fresh from the oven. Plus, making breakfast pancake poppers is ridiculously easy—no fancy skills required.
The Ultimate Secret Behind Picture-Perfect Pancake Poppers
The magic behind breakfast pancake poppers lies in understanding the science of small-batch baking. When you bake pancake batter in mini muffin tins instead of on a griddle, something magical happens. The concentrated heat creates crispy exteriors while keeping the insides tender and fluffy. This technique transforms ordinary pancake batter into something entirely new and exciting.
What’s brilliant about this method is how the batter rises and puffs in the oven’s dry heat. The eggs provide structure, the leavening agents create lift, and the milk creates steam that makes everything impossibly fluffy. According to pancake history and science, the technique of creating baked pancake variations has evolved significantly over the years. When you understand these fundamentals, you’ll appreciate why breakfast pancake poppers work so incredibly well.
Another game-changer is the butter or oil you add to each muffin cup before pouring the batter. This creates a slight barrier that helps them release easily and adds subtle richness to the edges. Small details like this separate mediocre poppers from the kind that make people ask for your recipe.
Ingredients
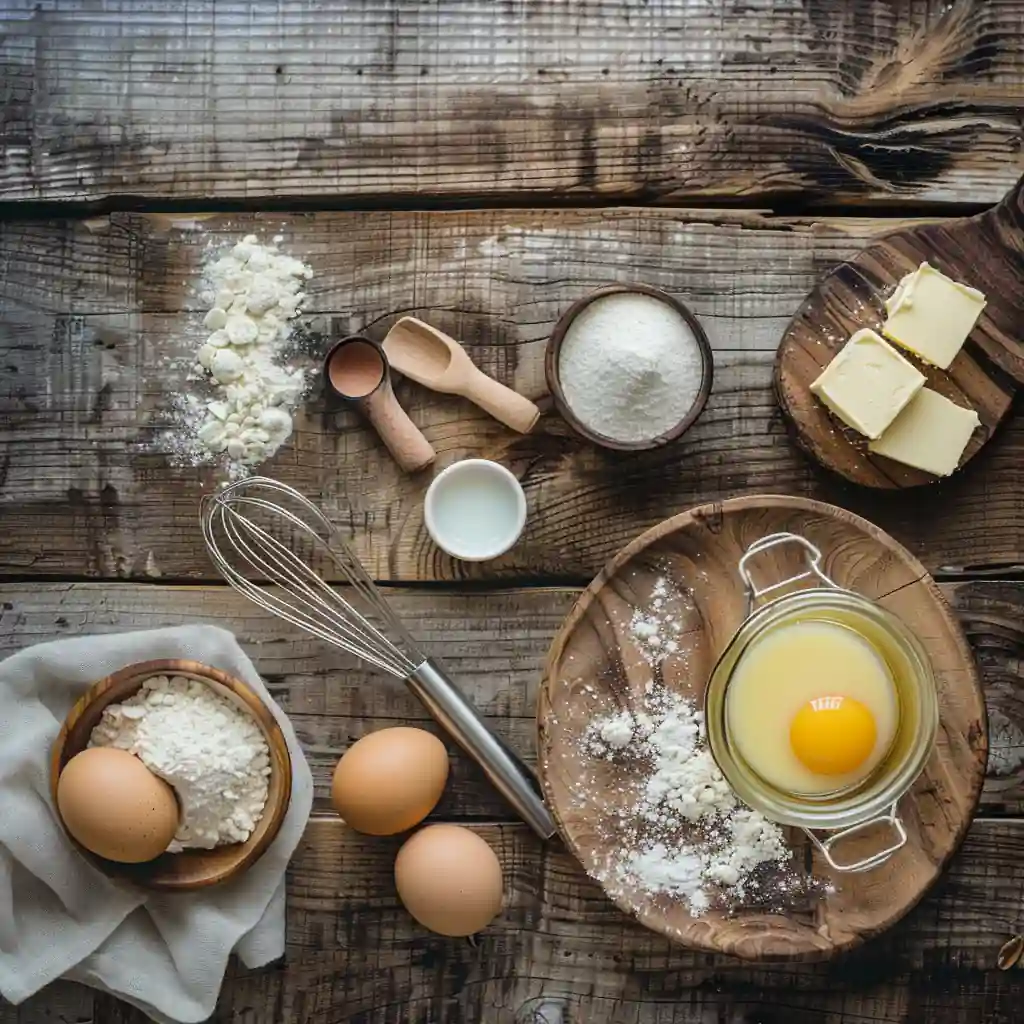
- 1½ cups all-purpose flour
- 2 tablespoons sugar
- 2½ teaspoons baking powder
- 1 teaspoon baking soda
- ½ teaspoon salt
- ¾ cup milk
- 2 tablespoons maple syrup
- 2 tablespoons melted butter
- 1 egg, lightly beaten
- 1 teaspoon vanilla extract
- ½ teaspoon ground cinnamon
- ½ cup mini chocolate chips (optional)
- Fresh blueberries or diced fruit (optional)
- Non-stick cooking spray or additional butter for greasing
Instructions
- Preheat your oven to 400°F and generously spray your mini muffin pan with non-stick cooking spray or brush with melted butter. This step is crucial for easy removal and golden edges.
- In a large mixing bowl, whisk together the flour, sugar, baking powder, baking soda, salt, and cinnamon. Keep all dry ingredients in this bowl and set aside.
- In another bowl, combine the milk, maple syrup, melted butter, beaten egg, and vanilla extract. Whisk these wet ingredients until completely combined and smooth.
- Pour the wet ingredients into the dry ingredients and stir until just combined. Don’t overmix—a few small lumps are perfectly fine. Lumpy batter actually makes fluffier poppers.
- Gently fold in the mini chocolate chips and any fresh fruit you’re using. Be careful not to crush berries or break chocolate chips into tiny pieces.
- Divide the batter evenly between the muffin cups, filling each one about three-quarters full. This gives them room to puff and rise beautifully.
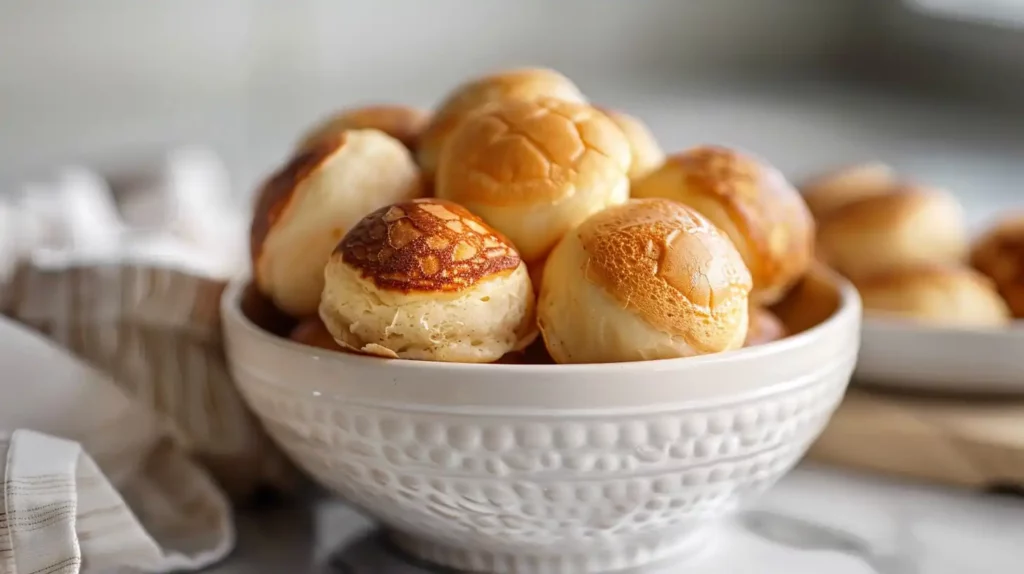
- Bake for 8–10 minutes, until the tops are puffed and lightly golden brown. A toothpick inserted into the center should come out clean or with just a few moist crumbs.
- Remove from the oven and let cool in the pan for 5 minutes before turning out onto a wire rack. This cooling time helps them set and prevents them from falling apart.
Pro Tips for Storage and Reheating
Storage is one of the best features of breakfast pancake poppers. Keep them in an airtight container in the refrigerator for up to five days. You can also freeze them for up to three months—just layer them between parchment paper to prevent sticking. Pop them straight into the freezer without thawing first.
Reheating is incredibly simple. For the microwave, heat 2–3 poppers for 20–30 seconds until warm. For a crispier texture, reheat them in a 350°F oven for 5–8 minutes. The oven method brings back that fresh-from-the-pan texture perfectly. Many people actually prefer day-old poppers after reheating because the flavors mellow slightly.
7 Incredible Reasons Breakfast Pancake Poppers Deserve a Spot in Your Routine
- Meal Prep Powerhouse: Make a double batch on Sunday and enjoy breakfast for the entire week. These breakfast pancake poppers stay fresh and delicious throughout the week.
- Customization Heaven: Swap ingredients based on dietary needs, preferences, or what’s in your pantry. From gluten-free flour to dairy-free milk, breakfast pancake poppers adapt beautifully.
- Perfect Portion Control: Each popper is a complete serving, making it easy to grab exactly what you need. No mindless overeating when portions are pre-determined.
- Kid-Approved Breakfast: Kids love the fun size and the interactive dipping aspect. Picky eaters often embrace breakfast pancake poppers more readily than traditional pancakes.
- Freezer-Friendly: Frozen poppers reheat in under a minute, making them perfect for rushed mornings. According to nutrition and food science experts, batch-cooked breakfast items improve dietary consistency.
- Budget-Friendly: One batch makes 24–32 poppers depending on pan size, costing just a few dollars total.
- Naturally Gluten-Free Option: Simply substitute gluten-free flour for regular flour, and you’ve got a celiac-friendly breakfast option.
Common Mistakes That Sabotage Your Breakfast Pancake Poppers
- Overfilling the muffin cups: Resist the urge to fill them to the brim. Three-quarters full gives them room to rise magnificently without spilling over into the pan.
- Overmixing the batter: This develops gluten and makes them dense instead of fluffy. Stir just until ingredients combine—lumps are your friend here.
- Skipping the pan preparation: Don’t cheap out on greasing. Ungreased pans result in breakfast pancake poppers that stick and tear when you try to remove them.
- Baking at the wrong temperature: Too low and they won’t puff properly; too high and they brown before cooking through. Stick to 400°F for the best results.
- Not cooling before storage: Storing warm poppers traps condensation inside the container, making them soggy. Let them cool completely first.
Creative Variations and Flavor Combinations
Once you’ve mastered the basic breakfast pancake poppers recipe, the fun really begins. Try a savory version with cooked bacon, shredded cheddar, and jalapeños for a brunch-worthy option. For more ideas, check out our guide on pumpkin sage rigatoni. Sweet lovers can add pumpkin puree, nutmeg, and pecans for a fall-inspired twist.
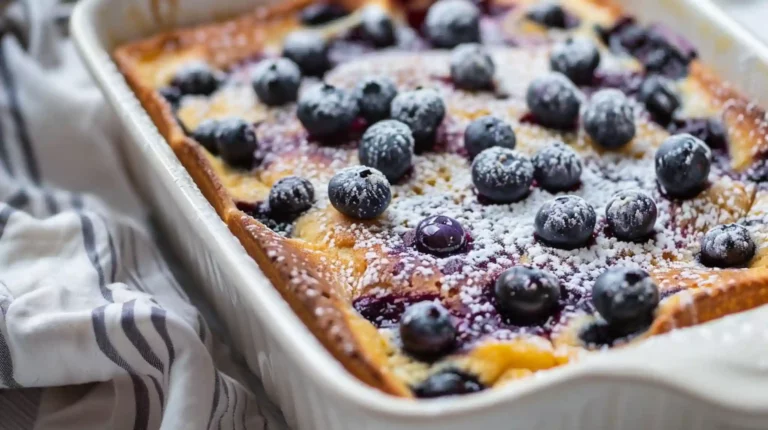
Blueberry breakfast pancake poppers are a classic variation that never disappoints. Simply fold in fresh or frozen blueberries and maybe add a splash of lemon zest for brightness. For chocolate enthusiasts, combine mini chocolate chips with white chocolate chips for a sophisticated flavor profile.
Protein-boosted versions work beautifully too. Add Greek yogurt to the wet ingredients, reduce the milk slightly, and you’ve got breakfast pancake poppers packed with extra protein. These variations are particularly popular with fitness-focused breakfast enthusiasts who want sustained energy throughout the morning.
Frequently Asked Questions
Find answers to common questions
The Bottom Line
Breakfast pancake poppers represent the perfect marriage of convenience, nutrition, and pure breakfast joy. They’re easy to make, endlessly customizable, and absolutely delicious whether fresh from the oven or reheated days later. Whether you’re looking for a quick weekday breakfast or an impressive brunch option, breakfast pancake poppers deliver every single time.
Start with the basic recipe this weekend, taste how incredible they are, and then dive into flavor variations that match your preferences. For more breakfast inspiration and expert recipe resources, explore other creative morning meal options that work beautifully with meal prep strategies. Your future self will thank you for discovering this breakfast game-changer.
PrintAmazing Breakfast Pancake Poppers: 5 Simple Steps!
Breakfast Pancake Poppers are mini, muffin-shaped pancakes packed with customizable fillings like fruit or chocolate—perfect for meal prep, kid-friendly mornings, or freezer breakfasts.
- Prep Time: 10 minutes
- Cook Time: 10 minutes
- Total Time: 20 minutes
- Yield: 24 mini poppers
- Category: Breakfast
- Method: Baking
- Cuisine: American
- Diet: Vegetarian
Ingredients
1½ cups all-purpose flour
2 tablespoons sugar
2½ teaspoons baking powder
1 teaspoon baking soda
½ teaspoon salt
¾ cup milk
2 tablespoons maple syrup
2 tablespoons melted butter
1 egg, lightly beaten
1 teaspoon vanilla extract
½ teaspoon ground cinnamon
½ cup mini chocolate chips (optional)
Fresh blueberries or diced fruit (optional)
Non-stick cooking spray or butter for greasing
Instructions
1. Preheat oven to 400°F and grease mini muffin pan generously with non-stick spray or butter.
2. In a large bowl, whisk together flour, sugar, baking powder, baking soda, salt, and cinnamon.
3. In a separate bowl, whisk milk, maple syrup, melted butter, egg, and vanilla until smooth.
4. Pour wet mixture into dry ingredients and stir until just combined. Do not overmix.
5. Fold in chocolate chips or fruit gently.
6. Divide batter evenly in muffin cups, filling ¾ full.
7. Bake for 8–10 minutes until golden and puffed.
8. Cool in pan for 5 minutes before transferring to wire rack.
Notes
Store in airtight container in fridge up to 5 days or freeze for 3 months.
Reheat in microwave for 30 seconds or bake at 350°F for 5–8 minutes for crispier edges.
Use pancake mix as a shortcut—just reduce baking powder slightly.