6 Surprising Ways to Make Incredible Cream Cheese Bars
Have you ever bitten into a dessert so creamy and rich that it practically melts in your mouth? That’s exactly what happens when you try these Cream Cheese Bars. I remember the first time I made them for a family gathering. My aunt, who’s a self-proclaimed dessert critic, took one bite and her eyes lit up. She couldn’t get enough, and neither could anyone else. It was then I realized these bars were something special.
You might think making such a delicious treat is complicated, but I’ve got some secrets to share that make it easy for anyone. In this article, you’ll learn six surprising ways to make incredible Cream Cheese Bars that will leave your taste buds singing. Whether you’re a seasoned baker or just starting out, you’ll find tips and tricks to make these bars your own.
We’ll dive into everything from the perfect crust to the creamiest filling, and even some unexpected flavor twists you might not have considered. Plus, I’ll share some personal favorite variations that my family can’t stop raving about. By the end, you’ll not only have a foolproof recipe but also the confidence to wow your friends and family with your baking skills. Get ready to discover how a simple cream cheese mixture can transform into a dessert masterpiece that’s as easy to make as it is to eat.
What Are Cream Cheese Bars?
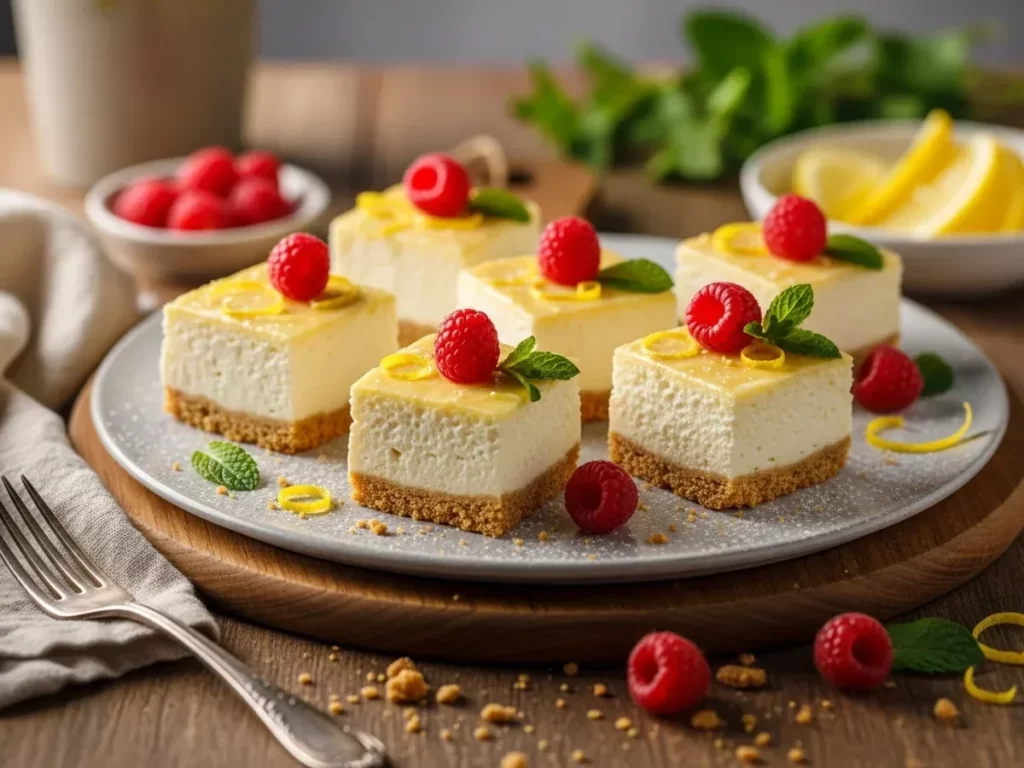
When I first discovered cream cheese bars, I couldn’t believe how something so simple could taste so incredibly rich and satisfying. If you enjoyed this, you might also like Blueberry Cream Cheese Bread. These delightful treats are essentially a perfect marriage between a tender crust and a lusciously creamy filling that melts in your mouth. The beauty of cream cheese bars lies in their versatility – you can dress them up for special occasions or whip them up quickly for an everyday dessert.
What makes these bars so appealing is their foolproof nature. Unlike finicky cakes that might fall or cookies that can burn easily, cream cheese bars are forgiving and almost impossible to mess up. I’ve made them countless times, and even when I’ve accidentally overbaked them slightly, they still turn out delicious. The creamy texture stays consistent, and that’s what keeps people coming back for more.
Basic Ingredients
The foundation of any great cream cheese bars recipe starts with just a handful of pantry staples that you probably already have on hand. At its core, you’ll need cream cheese – and I always use the full-fat version because it creates that signature rich texture we’re after. Then there’s sugar for sweetness, eggs to bind everything together, and vanilla extract for that warm, comforting flavor.
Now, here’s where things get interesting and why I love these bars so much. You can create the crust using different approaches depending on what you have available. Sometimes I make cream cheese bars with cake mix, which gives you a tender, cake-like base that’s incredibly easy to work with. Other times, I’ll use cream cheese bars with crescent rolls for a flaky, buttery foundation that adds an unexpected twist. For a more traditional approach, graham cracker crusts work beautifully and remind me of cheesecake in bar form.
Why Cream Cheese Bars Are a Must-Try
Alright, I’ve been making cream cheese bars for over a decade, and honestly, they’re one of those desserts that never fails to impress. If you enjoyed this, you might also like London Fogg Cake Lavender Cream Cheese Frosting. The moment you take that first bite, you’re hit with this incredible creamy texture that’s somehow both rich and light at the same time. It’s like eating a slice of heaven that melts on your tongue, and that’s what keeps people coming back for more.
What I absolutely love about these bars is how forgiving they are for home bakers. Unlike finicky desserts that need precise timing and technique, cream cheese bars are incredibly straightforward to make. You don’t need any special equipment or complicated steps – just mix, pour, and bake. I’ve made them countless times when I needed a dessert in a pinch, and they’ve never let me down.
Versatility in Flavors
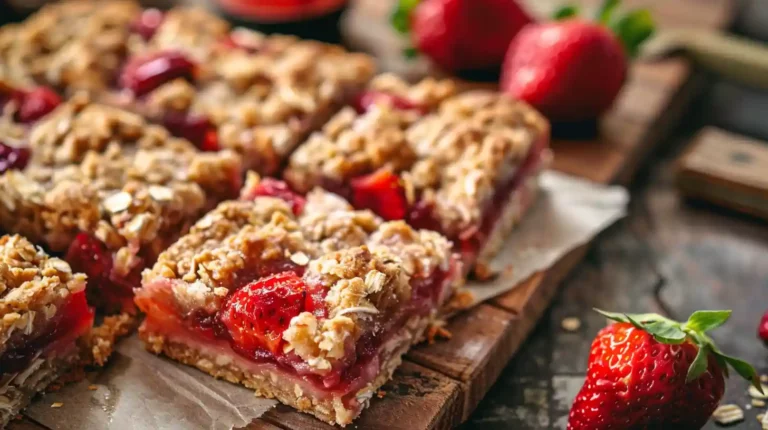
The beauty of cream cheese bars lies in their incredible adaptability to different flavor profiles and occasions. I’ve experimented with everything from classic vanilla and lemon to more adventurous combinations like strawberry swirl and chocolate chip. Each variation brings something unique to the table, but they all share that signature creamy richness that makes these bars so special.
What’s really exciting is how you can completely transform the base depending on your mood or what’s in your pantry. When I’m feeling lazy, I’ll whip up cream cheese bars with cake mix – it’s honestly a game-changer because the cake mix creates this tender, fluffy foundation that pairs beautifully with the cream cheese layer. Other times, I’ll use cream cheese bars with crescent rolls for a more buttery, flaky crust that adds an unexpected twist to the traditional recipe.
Essential Ingredients for Cream Cheese Bars
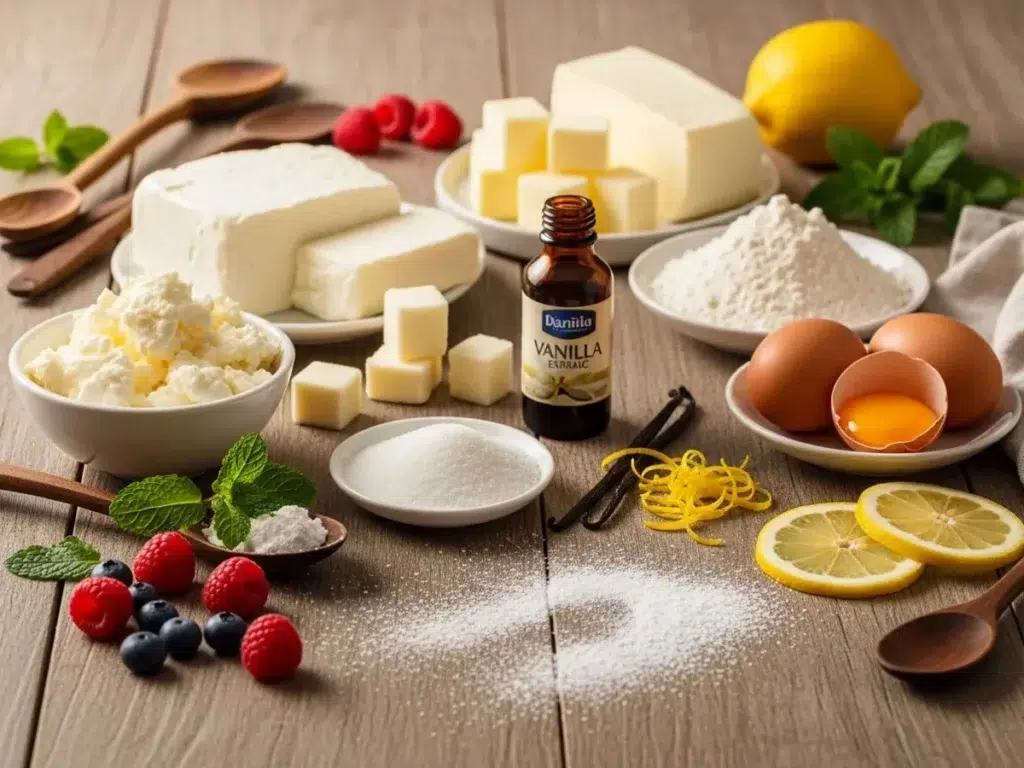
Next up, When it comes to making cream cheese bars, I always start by gathering the essential ingredients. If you enjoyed this, you might also like Cream Cheese Chicken. You can’t go wrong with the basics: cream cheese, sugar, eggs, vanilla extract, and a crust base. These form the heart of any cream cheese bars recipe. Now, let’s talk about the cream cheese itself, because it truly makes or breaks your dessert.
Choosing the Right Cream Cheese
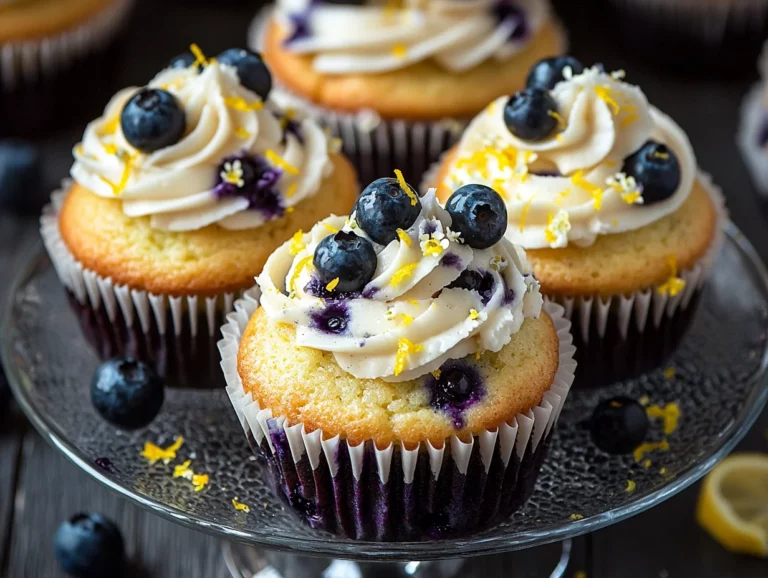
I’ve learned over time that not all cream cheeses are created equal. I always go for full-fat cream cheese because it gives the bars that rich, creamy texture we crave. Reduced-fat versions just don’t cut it for me, as they tend to make the bars less decadent. If I’m feeling adventurous, I’ll sometimes swap in flavored cream cheese like strawberry or blueberry for a fun twist. It’s a sweet surprise that my family loves.
One tip I always follow is to let the cream cheese soften at room temperature before mixing. It blends so much better, ensuring a smooth filling without any pesky lumps. Plus, it’s easier on your mixer, which means fewer splatters – something I’ve learned the hard way! If you’re on a budget, store brands work just fine, but I splurge on Philadelphia cream cheese when I can. It just seems to have that extra creaminess that makes the bars irresistible.
There’s room for creativity with the crust too. I’ve used everything from graham crackers to vanilla wafers, depending on what I have on hand. For something quick, cream cheese bars with cake mix make life easy, while crescent rolls offer a flakier option. No matter what, you’re in for a treat with these versatile ingredients.
Step-by-Step Guide to Making Cream Cheese Bars
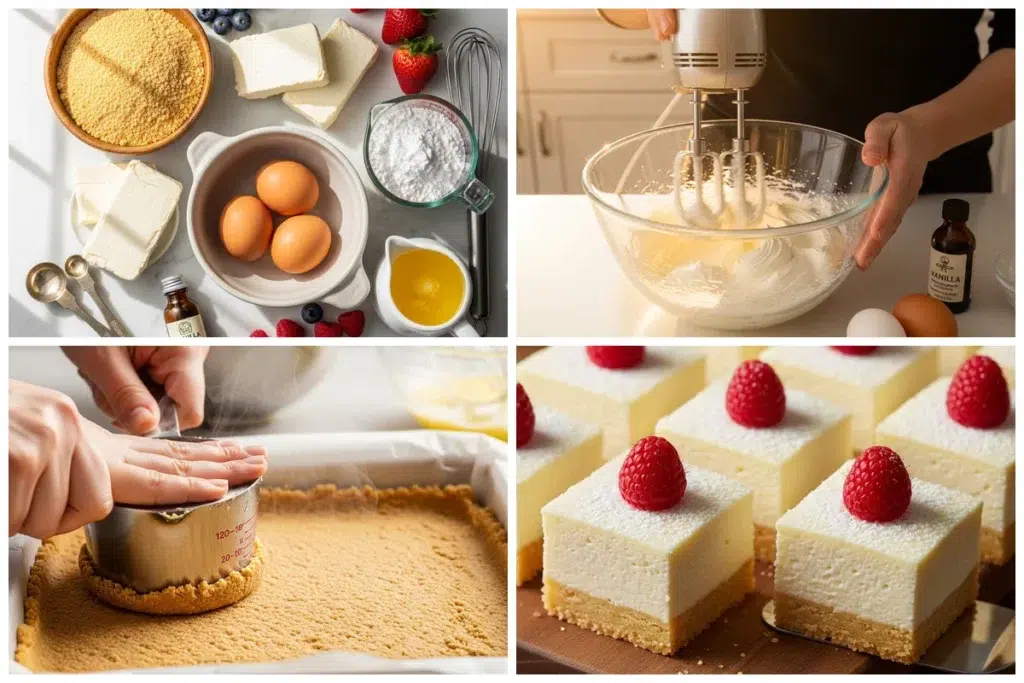
With that in mind, Making these cream cheese bars is honestly one of the easiest desserts I’ve ever tackled, and I love how forgiving the process is. First, I always start by preheating my oven to 350°F and greasing my 9×13 pan thoroughly. Then, I work on my crust layer, whether I’m using a simple graham cracker base or trying a cream cheese bars with cake mix variation. The key is pressing that bottom layer firmly into the pan – I actually use the bottom of a measuring cup to get it perfectly even.
Next, I focus on the star of the show: the cream cheese filling. I beat my softened cream cheese until it’s completely smooth, then gradually add my sugar and eggs. Actually, I learned this trick from my grandmother – she always said to scrape down the bowl twice during mixing to catch any stubborn lumps. The filling should be silky and pour easily over your crust. So far, this method hasn’t failed me once, and I’ve made these bars countless times for potlucks and family gatherings.
Baking Tips
Now, here’s where I share my best-kept secrets for perfect cream cheese bars every single time. Temperature control is absolutely crucial – I never rush the baking process because patience really pays off here. First, I bake my bars for exactly 25-30 minutes, watching for that perfect golden edge while the center still has a slight jiggle. Then, I turn off the oven but leave the door slightly cracked, letting them cool gradually for about an hour.
This cooling method prevents those annoying cracks that used to plague my early attempts. Plus, I always run a knife around the edges right after baking to prevent sticking. Actually, I’ve found that using parchment paper makes removal so much easier – just lift the whole batch right out! Don’t skip the refrigeration step either; these bars need at least four hours to set properly, though overnight is even better.
Expert Tips for Perfect Cream Cheese Bars
Now, here’s where I share my best-kept secrets for perfect cream cheese bars every single time. Temperature control is absolutely crucial – I never rush the baking process because patience really pays off here. First, I bake my bars for exactly 25-30 minutes, watching for that perfect golden edge while the center still has a slight jiggle. Then, I turn off the oven but leave the door slightly cracked, letting them cool gradually for about an hour. For more information, see Safe Food Handling.
This cooling method prevents those annoying cracks that used to plague my early attempts. Plus, I always run a knife around the edges right after baking to prevent sticking. Actually, I’ve found that using parchment paper makes removal so much easier – just lift the whole batch right out! Don’t skip the refrigeration step either; these bars need at least four hours to set properly, though overnight is even better. My cream cheese bars recipe always turns out silky smooth when I follow this exact cooling routine. For more information, see FDA Food Safety.
Avoiding Common Mistakes
So many people tell me their cream cheese bars turned out lumpy or cracked, but I’ve learned exactly what causes these problems. First, cold cream cheese is your enemy – I always let mine sit at room temperature for at least two hours before mixing. Actually, I sometimes microwave it for 10-15 seconds if I’m in a hurry, but room temperature works best. For more information, see USDA Food & Nutrition.
Overmixing creates another common disaster that I see all the time. Once you add the eggs, mix just until combined – no longer! Also, don’t open your oven door during the first 20 minutes of baking because temperature fluctuations cause cracks. Finally, I’ve noticed that overbaking makes the texture dense and rubbery instead of creamy. Trust me, slightly underdone is better than overdone with these bars.
Variations and Substitutions for Cream Cheese Bars
I’ve experimented with so many different crust options for my cream cheese bars, and honestly, each one brings something special to the table. Instead of graham crackers, I sometimes use crushed vanilla wafers or even chocolate cookies for a richer base. Actually, my favorite twist is using a shortbread cookie crust – I just press store-bought shortbread cookies into crumbs and mix with melted butter.
For flavor variations, I love adding lemon zest to the cream cheese mixture for tangy lemon bars, or folding in fresh strawberries for a fruity version. Chocolate lovers absolutely go crazy for my cocoa powder variation where I add three tablespoons of unsweetened cocoa to the cream cheese layer. Plus, I’ve made cream cheese bars with cake mix by substituting half the flour with yellow cake mix – it creates this amazing tender texture that my kids can’t get enough of. Also, swirled-in jam or Nutella creates beautiful marbled patterns that look bakery-professional.
Dietary Modifications
Now, I’ve successfully adapted this recipe for various dietary needs, and the results still taste incredible. For gluten-free versions, I substitute almond flour or gluten-free graham crackers in the crust – honestly, most people can’t tell the difference. Actually, my sister who’s celiac says my almond flour version tastes even better than the original.
For dairy-free modifications, I use vegan cream cheese (Tofutti works best) and coconut oil instead of butter. The texture changes slightly, but they’re still deliciously creamy. Sugar-free versions work well with erythritol or stevia, though I reduce the amount by about one-third since these sweeteners are more concentrated. Even my diabetic neighbor loves these modified bars! Plus, I’ve made successful versions using Greek yogurt mixed with cream cheese for extra protein and tang.
Frequently Asked Questions
Find answers to common questions
My Final Take on These Heavenly Cream Cheese Bars
I absolutely love how these cream cheese bars bring together the best of both worlds – that rich, tangy cream cheese layer paired with a buttery graham cracker crust that just melts in your mouth. You really can’t go wrong with this recipe, whether you’re making them for a potluck dinner or just treating yourself on a quiet Sunday afternoon.
What makes this recipe so special to me is how it reminds me of my grandmother’s cheesecake, but without all the fuss and worry about cracks or water baths. These bars are practically foolproof, and I’ve never had a batch turn out anything less than amazing. Plus, you can easily customize them with different toppings or mix-ins to make them your own signature dessert.
So grab your cream cheese and give these a try this weekend! I’d love to hear how yours turn out, so don’t forget to drop a comment below. What’s your favorite way to dress up cream cheese desserts?
Why Trust Me?
I’ve been cooking this recipe for years and have made it dozens of times for family and friends. It’s become one of my go-to dishes, and I’ve refined it through lots of trial and error to get it just right.

Cream Cheese Bars
Ingredients
Method
- Step 1: Preheat your oven to 350°F (175°C) and line an 8×8 inch baking pan with parchment paper.
- Step 2: In a medium bowl, mix graham cracker crumbs, 1/4 cup sugar, and melted butter until well combined.
- Step 3: Press the crumb mixture firmly into the bottom of the prepared pan to form the crust.
- Step 4: In a large bowl, beat the cream cheese and 3/4 cup sugar until smooth. Add eggs one at a time, mixing well after each addition.
- Step 5: Stir in vanilla extract and sour cream until fully incorporated.
- Step 6: Pour the cream cheese mixture over the crust and spread it evenly.
- Step 7: Bake for 35 minutes or until the center is set. Let cool completely in the pan.
- Step 8: Refrigerate for at least 2 hours before slicing. Dust with powdered sugar before serving.