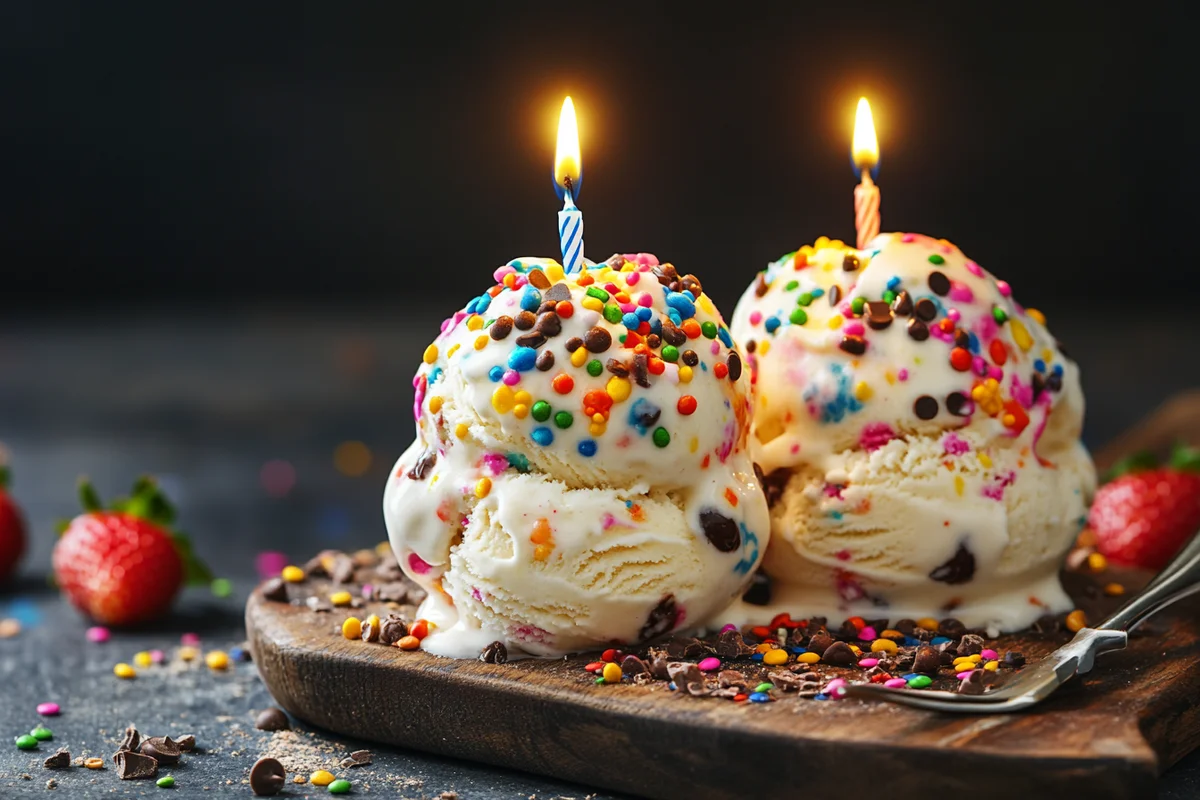
Birthday Cake Ninja Creami Ice Cream
I’ll never forget the first time I whipped up Birthday Cake Ninja Creami Ice Cream for my daughter’s sleepover. The second those sugar-hyped girls tasted that creamy, cake-batter goodness, they declared it “the best ice cream ever.” Now, it’s our go-to celebration treat, and I’m so excited to share the recipe with you!
What makes this version stand out? It’s that magical combo of nostalgic birthday cake flavor and the silky-smooth texture only the Ninja Creami can deliver. Plus, you can make it healthier than store-bought versions without skimping on taste. My secret? Real cake pieces blended into a protein-packed base that both kids and adults adore.
I spent two summers perfecting this recipe through trial and error. At first, I struggled with icy textures, but then I nailed the perfect ratio of dairy to mix-ins. Now, I can whip up this frozen delight in minutes, and it comes out flawless every time. The best part? You don’t need fancy ingredients—just pantry staples and your favorite boxed cake mix.
By the time you’re done reading this, you’ll know exactly how to create that dreamy, scoopable consistency and bold birthday cake flavor. I’ll walk you through my foolproof method, share secret tips from my recipe testing, and give you fun ways to customize it. Trust me, once you try this homemade version, those overpriced pints at the store won’t stand a chance!
Key Takeaways:
- Uses real cake pieces for authentic birthday cake flavor
- Creamier texture than traditional ice cream makers
- Customizable with different cake flavors and mix-ins
- Perfect for celebrations or everyday treats
Why This Recipe Works
Let’s be real—most homemade ice creams either turn out too icy or lack that rich, creamy mouthfeel. If you enjoyed this, you might also like Lemon Cake With Whipped Cream Powdered Sugar. What makes this Birthday Cake Ninja Creami Ice Cream different is the science behind the Ninja Creami’s spinning technology. Unlike traditional ice cream makers that incorporate air as they churn, the Creami shaves frozen mixtures into ultra-fine particles. The result? That signature smooth texture that rivals premium store-bought brands.
The flavor here? Spot on. I use vanilla cake mix not just in the base but also as actual cake pieces folded in after processing. This double dose of cake flavor gives you those nostalgic birthday party vibes in every bite. And those sprinkles? They’re not just for show—they add little bursts of crunch that perfectly contrast the creamy base.
Texture is everything with ice cream, and that’s where this recipe shines. By combining milk, cream, and just enough sugar, we achieve perfect scoopability straight from the freezer. I learned through trial and error that adding a touch of vodka (which doesn’t freeze) prevents ice crystals from forming. Don’t worry—you can’t taste it, but it makes all the difference in texture.
What really sets this apart is how adaptable it is. Want a protein-packed version using Greek yogurt? Or a dairy-free alternative with coconut milk? The basic method stays the same. My neighbor, a pastry chef, actually told me this was the creamiest homemade ice cream she’d ever tried. She couldn’t believe it came from a countertop appliance!
Ingredients Breakdown
Let’s break down what goes into making this magical Birthday Cake Ninja Creami Ice Cream. If you enjoyed this, you might also like London Fogg Cake Lavender Cream Cheese Frosting. Every ingredient plays a specific role in creating that perfect flavor and texture balance. Here’s what you’ll need and why.
The star of the show? Vanilla cake mix. I swear by Betty Crocker’s classic yellow cake mix because it delivers that authentic birthday cake flavor we all love. You’ll use it two ways—mixed into the base and as actual cake pieces. Pro tip: Save the leftover mix in an airtight container for future batches! For the liquid components, I use a combo of whole milk and heavy cream. The milk keeps it light, while the cream gives that luxurious mouthfeel. Prefer a lighter version? Substitute half-and-half for the heavy cream.
Now for the secret weapons: vanilla extract and almond extract. Together, they create that complex, bakery-style vanilla flavor. Just a quarter teaspoon of almond extract makes all the difference—it enhances the vanilla without tasting like almonds. For sweetness, I use granulated sugar, but you can swap it for monk fruit sweetener if you prefer. The sugar isn’t just for taste—it also helps prevent ice crystals from forming.
The mix-ins are where the fun really begins. I always include rainbow sprinkles (the long “jimmies” style hold up better than tiny nonpareils) and actual chunks of baked cake. I bake a single cupcake from the mix just for this purpose—it adds amazing texture and flavor pockets throughout. For an extra protein boost, I sometimes add a scoop of vanilla protein powder to the base. It makes the ice cream more filling without compromising taste.
Step-by-Step Guide
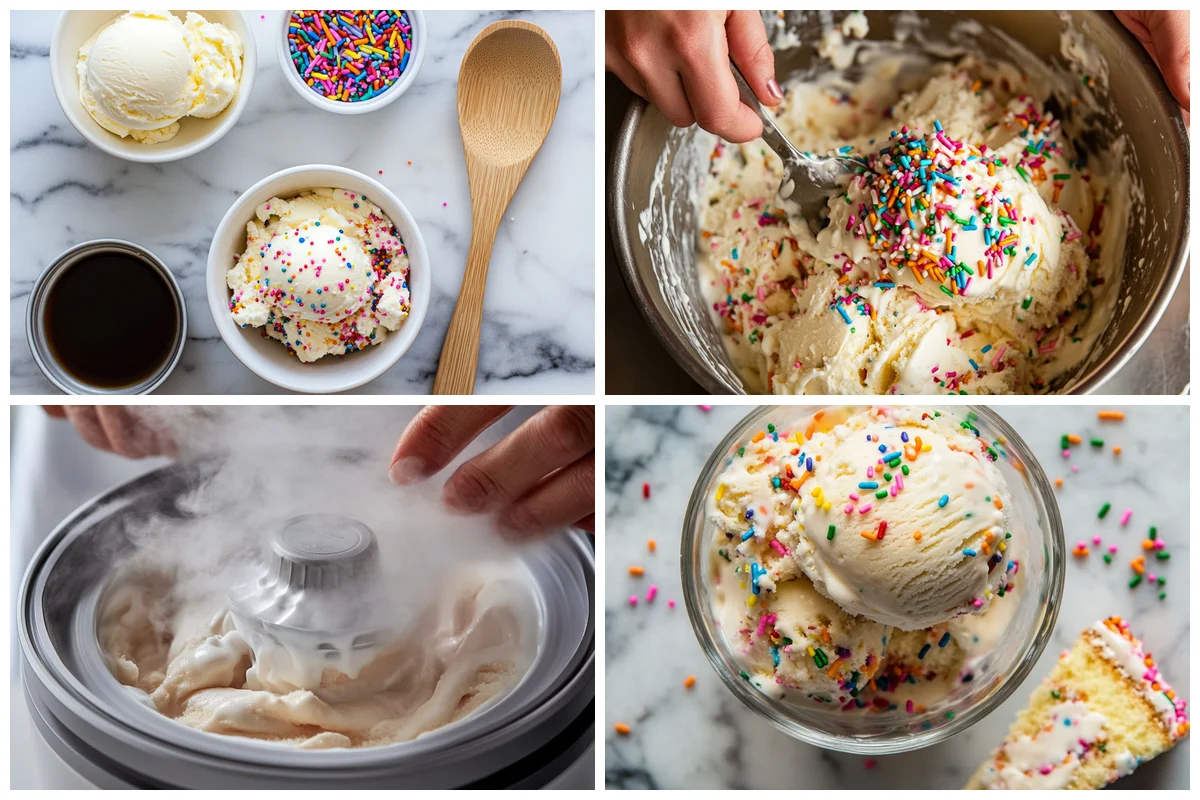
Alright, let’s dive into making this Birthday Cake Ninja Creami Ice Cream. If you enjoyed this, you might also like Bright Buttery Lemon Cream Snowball Cookies. I’ll walk you through each step with all the tips I’ve learned from making this dozens of times. First up—you’ll need to bake a cupcake using the cake mix. Just prepare it according to package directions, but bake it in a muffin tin rather than a whole cake. Let it cool completely, then cut it into small cubes about 1/2 inch in size.
Now for the base. In a large bowl, whisk together the milk, cream, sugar, extracts, and a half cup of dry cake mix. This is where the magic starts—that dry mix gives the ice cream its signature birthday cake flavor. Whisk vigorously for about two minutes until everything is completely dissolved. You don’t want any sugar granules or clumps of cake mix remaining. If you’re adding protein powder, now’s the time to mix it in.
Pour the mixture into your Ninja Creami pint container, leaving about an inch of space at the top. The mixture will expand as it freezes, so don’t overfill. Now comes the hardest part—waiting! Freeze the pint for at least 24 hours. I know it’s tempting to rush this, but trust me, full freezing is crucial for the right texture. When you’re ready to churn, take the pint out and let it sit on the counter for 5 minutes to slightly soften the edges.
Process on the “Ice Cream” setting, then use the “Mix-In” function to incorporate your cake pieces and sprinkles. Here’s my pro tip: reserve some sprinkles to sprinkle on top after processing for maximum visual appeal. The first spin might leave some icy spots—that’s normal! Just use a spoon to break up any large chunks, then respin on the “Re-spin” setting. This second spin transforms it into that dreamy, creamy consistency we’re after.
Variations & Customization Ideas
One of the best things about this Birthday Cake Ninja Creami Ice Cream recipe is how easy it is to customize. Over the past year, I’ve experimented with countless variations, and I’m thrilled to share my favorites with you. First up is the chocolate lover’s version—simply swap the vanilla cake mix for chocolate and add mini chocolate chips instead of sprinkles. My son prefers this version, and it’s become his birthday tradition. For more information, see How to Make Homemade Ice Cream.
For a healthier twist, try using Greek yogurt in place of half the heavy cream. I use two-thirds cup of plain Greek yogurt and reduce the milk to one cup. The yogurt adds protein and creates an almost cheesecake-like tang that balances the sweetness beautifully. You can also use sugar-free cake mix and your favorite zero-calorie sweetener to cut down on carbs without sacrificing flavor. For more information, see FDA Food Safety.
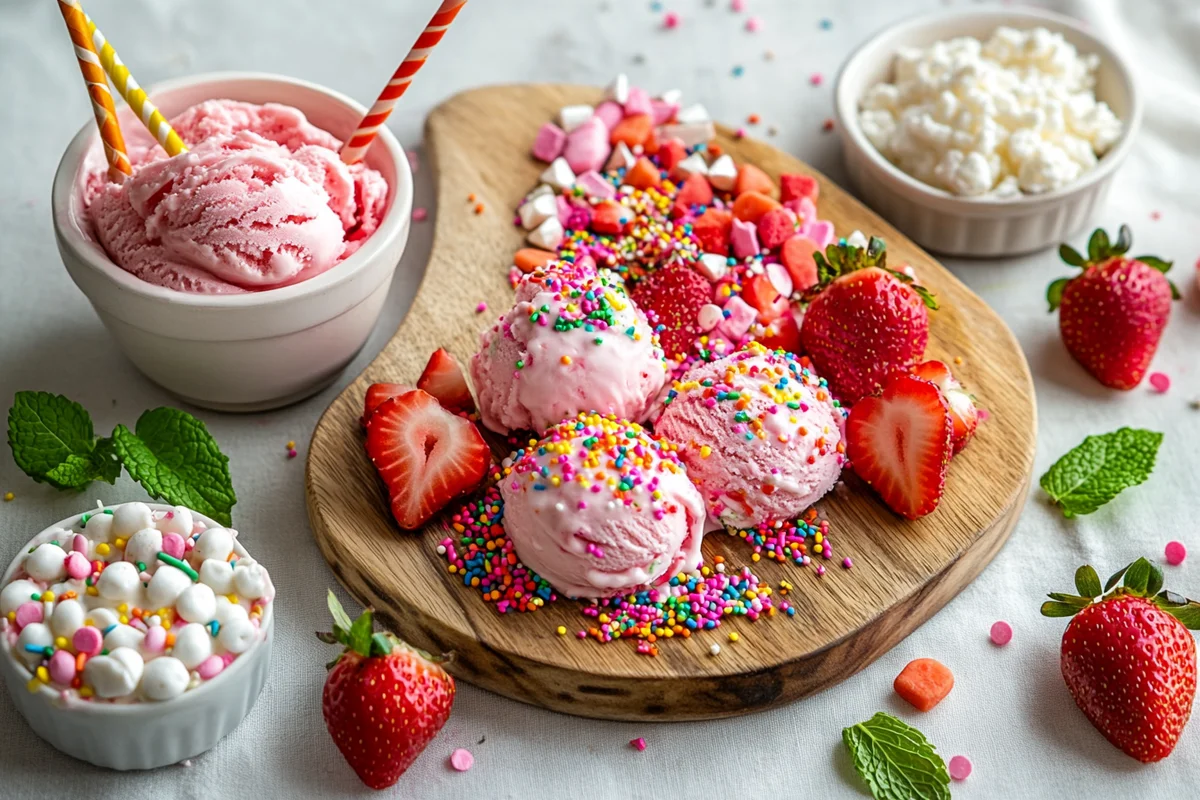
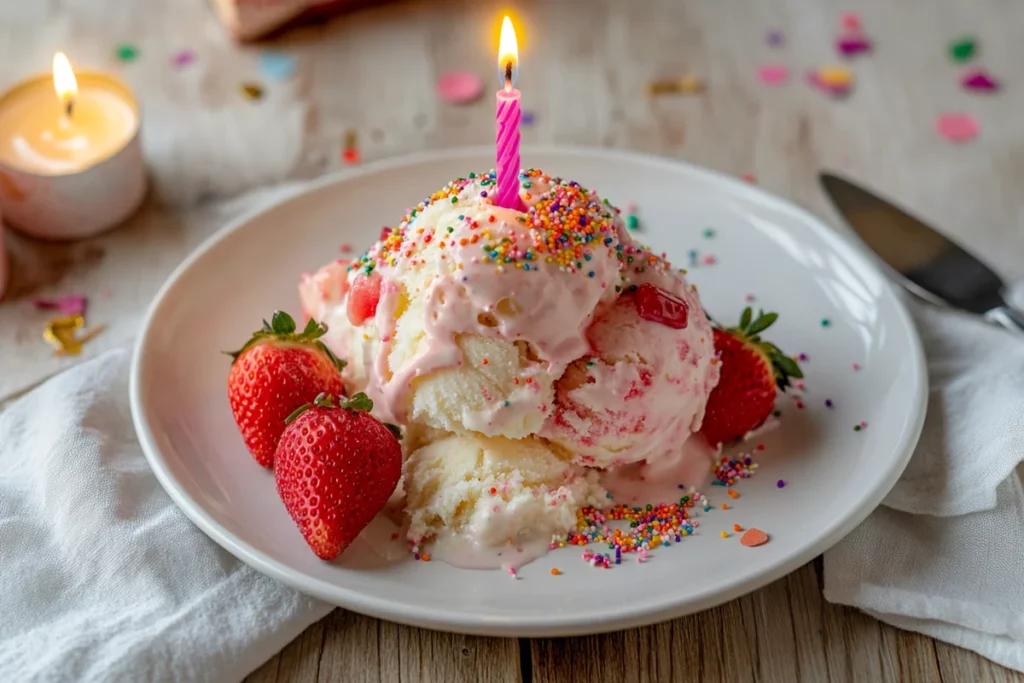
Seasonal variations are fun too! During the holidays, I make a peppermint version by adding crushed candy canes and a teaspoon of peppermint extract. In summer, I’ll swirl in strawberry puree for a strawberry shortcake effect. My personal favorite variation is the “Funfetti Cheesecake”—I add two tablespoons of cream cheese powder to the base and use funfetti cake mix instead of plain vanilla. For more information, see USDA Food & Nutrition.
For those with dietary restrictions, this recipe adapts beautifully. Use gluten-free cake mix and certified gluten-free sprinkles for a celiac-friendly version. Dairy-free? Swap the milk and cream for full-fat coconut milk. Just be sure to shake the can well before measuring. The coconut flavor actually complements the birthday cake flavor surprisingly well!
Storage & Make-Ahead Tips
Now that you’ve made this amazing Birthday Cake Ninja Creami Ice Cream, let’s talk about how to keep it tasting fresh. Proper storage makes all the difference in maintaining that perfect creamy texture. I’ve found that the ice cream keeps best when stored in the original Ninja Creami pint container with the lid securely fastened. If you need to transfer it, use an airtight container and press a piece of parchment paper directly onto the surface before sealing.
In the freezer, this ice cream stays scoopable for about 2 weeks, though it’s usually gone much faster in my house! If it does get too hard, don’t worry—just let it sit at room temperature for 5-10 minutes before scooping. You can also give it a quick respin in the Creami to restore the creamy texture. I don’t recommend refreezing after it’s completely thawed, as this can create ice crystals.
For make-ahead convenience, you can prepare multiple bases at once and freeze them until you’re ready to churn. The dry ingredients (cake mix, sugar, etc.) can be pre-mixed and stored in ziplock bags with cooking instructions written right on them. When unexpected guests arrive, you’ll have homemade ice cream ready in minutes! I always keep a few pre-measured bags in my pantry for last-minute treats.
One of my favorite tricks is creating “ice cream kits” as gifts. I layer the dry ingredients in mason jars with instructions tied to the lid, then include a note about adding fresh dairy. They make fantastic birthday presents, especially when paired with a cute ice cream scoop. My friends now expect these as much as they expect birthday cake!
Frequently Asked Questions
How do I make birthday cake Ninja Creami ice cream creamy?
The secret to ultra-creamy texture lies in two things: fat content and proper freezing. Using a combination of milk and cream provides enough fat to prevent iciness, while the sugar and alcohol (from vanilla extract) act as anti-freezing agents. Make sure your base is completely smooth before freezing, and don’t skip the 24-hour freeze time. If your ice cream turns out grainy, try processing it twice—the second spin usually fixes any texture issues.
What ingredients are needed for Ninja Creami birthday cake ice cream?
You’ll need vanilla cake mix (both dry mix and baked cake pieces), whole milk, heavy cream, sugar, vanilla and almond extracts, and rainbow sprinkles. That’s the basic formula, but you can customize with protein powder, different extracts, or alternative sweeteners. The beauty of this recipe is its flexibility—as long as you maintain the general ratios, you can tweak ingredients to suit your preferences.
Can I use boxed cake mix in Ninja Creami birthday cake ice cream?
Absolutely! In fact, boxed cake mix is what makes this recipe so easy and gives it that authentic birthday cake flavor. You’ll use the dry mix in the ice cream base and actual baked cake pieces as a mix-in. I’ve tried from-scratch cakes too, but honestly, the boxed mix gives the best flavor consistency. Just be sure to use the mix within a few months of opening for maximum freshness.
Why does my Ninja Creami birthday cake ice cream turn icy?
Icy texture usually happens for three reasons: insufficient fat content, improper freezing time, or overprocessing. Make sure you’re using at least some heavy cream (or full-fat coconut milk for dairy-free), freeze for the full 24 hours, and don’t respin more than twice. If you’re still getting ice crystals, try adding a teaspoon of vodka or increasing the sugar slightly—both help lower the freezing point.
Final Thoughts
After making this Birthday Cake Ninja Creami Ice Cream recipe countless times, it’s become more than just a dessert in our house—it’s a tradition. There’s something magical about capturing that childhood birthday party flavor in a healthier homemade version. Whether it’s for actual birthdays, weeknight treats, or just because, this ice cream never fails to bring smiles.
What I love most is how it brings people together. My daughter and I now have a weekly “ice cream lab” where we experiment with new variations. Her friends beg to come over when they hear we’re making a new batch. It’s become our signature treat, and I love that we can control the ingredients while still enjoying that nostalgic birthday cake flavor.
If you’re new to the Ninja Creami, this is the perfect recipe to start with. The ingredients are simple, the method is foolproof, and the results are consistently delicious. I hope this becomes a staple in your home just like it has in ours. Now go grab that cake mix and get spinning—your new favorite ice cream awaits!

Birthday Cake Ninja Creami Ice Cream
Ingredients
Equipment
Method
- Add the Fairlife shake, pudding mix, and Birthday Cake Skinny Syrup to the Ninja Creami pint container.
- Stir the mixture very well until the pudding mix is fully dissolved. Place the lid on and freeze for 24 hours until solid.
- After freezing, install the pint in the outer bowl, assemble your Ninja Creami machine, and run the Lite Ice Cream function.
- If needed, respin once or twice until smooth and creamy. For softer texture, add 1 tbsp Fairlife shake and respin.
- Top with sugar-free whipped cream and sprinkles if desired. Enjoy immediately!