Delicious Cheesy Garlic Pesto Chicken Sliders: 10 Tips
Cheesy Garlic Pesto Chicken Sliders are the kind of party food that make people casually hover by the snack table pretending they’re “just grabbing one more.” These Cheesy Garlic Pesto Chicken Sliders are melty, garlicky, and just fancy enough to feel special while still being ridiculously easy to pull off on a weeknight.
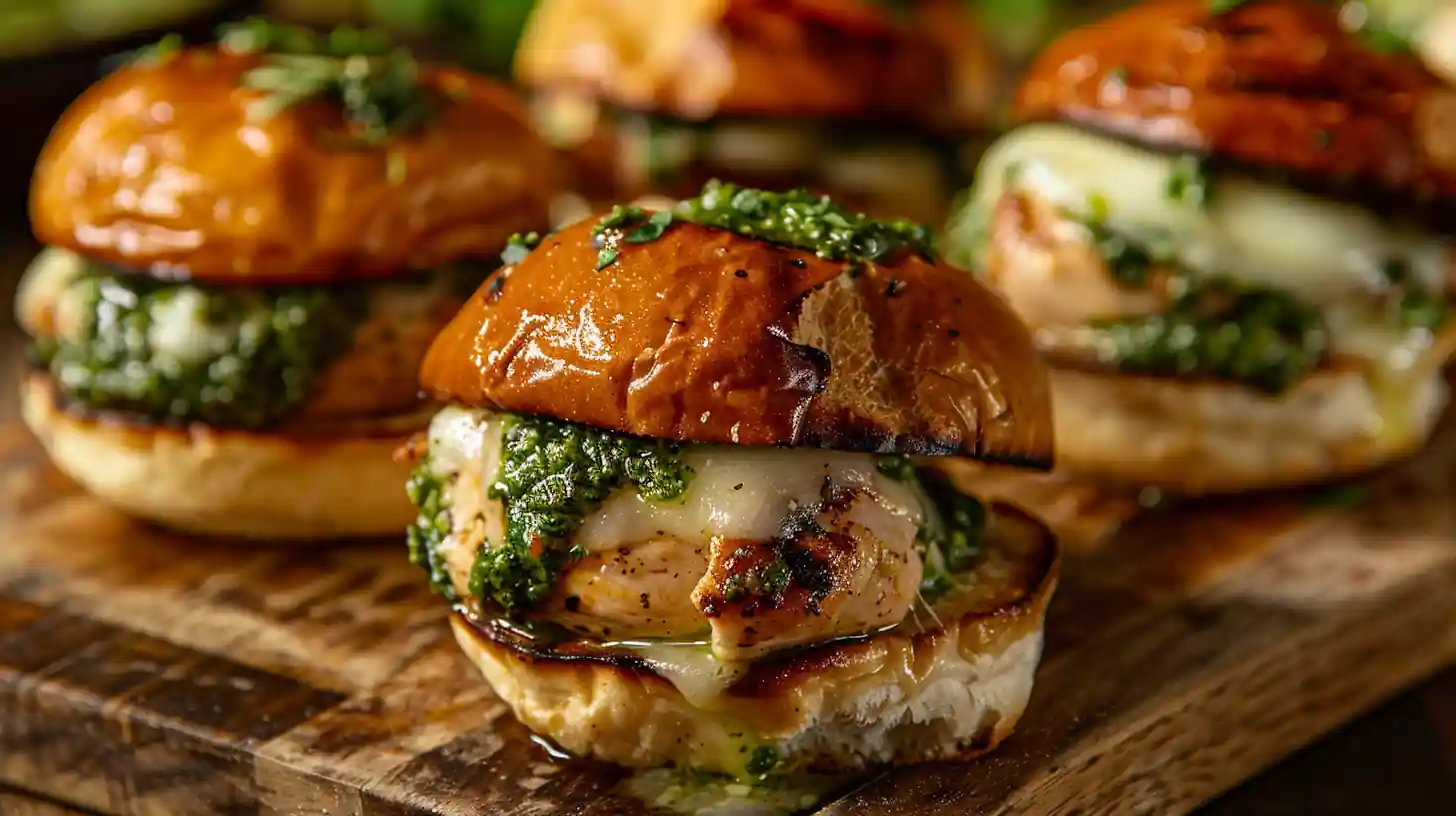
Picture juicy shredded chicken, basil pesto, and stretchy cheese tucked into soft slider buns, all brushed with buttery garlic goodness. These Cheesy Garlic Pesto Chicken Sliders are basically the love child of a garlic bread stick and a cozy chicken sandwich. They’re perfect for game day, movie night, or that “oops, I invited friends” moment.
What makes Cheesy Garlic Pesto Chicken Sliders extra fun is how customizable they are: swap cheeses, tweak the pesto, or add a little heat and they still turn out amazing. They’re also super beginner-friendly, so even if you’re new to cooking, you can absolutely master them. And TBH, they reheat like a dream, so leftovers are a win, not a burden.
7 Proven Reasons These Sliders Steal the Show
Cheesy Garlic Pesto Chicken Sliders hit that magical balance of comfort food and crowd-pleasing flavor without demanding restaurant-level skills. The combination of basil pesto, garlic butter, and melted cheese creates layers of flavor that taste like way more effort than they actually require.
They’re also incredibly efficient for feeding groups because you assemble them as one big tray, bake once, and slice to serve. If you care about food safety and proper cooking temps, resources like official food safety guidelines are handy for making sure your chicken is cooked perfectly. The result is a recipe that feels polished enough for entertaining but chill enough for a casual family dinner.
Cheesy Garlic Pesto Chicken Sliders also adapt well to different occasions, from potlucks to tailgates to holiday appetizer spreads. That versatility means you can keep this recipe in your back pocket all year long and it never feels out of place. For more ideas, check out our guide on Crockpot Creamy Coconut Chicken Tikka Masala.
Ingredients
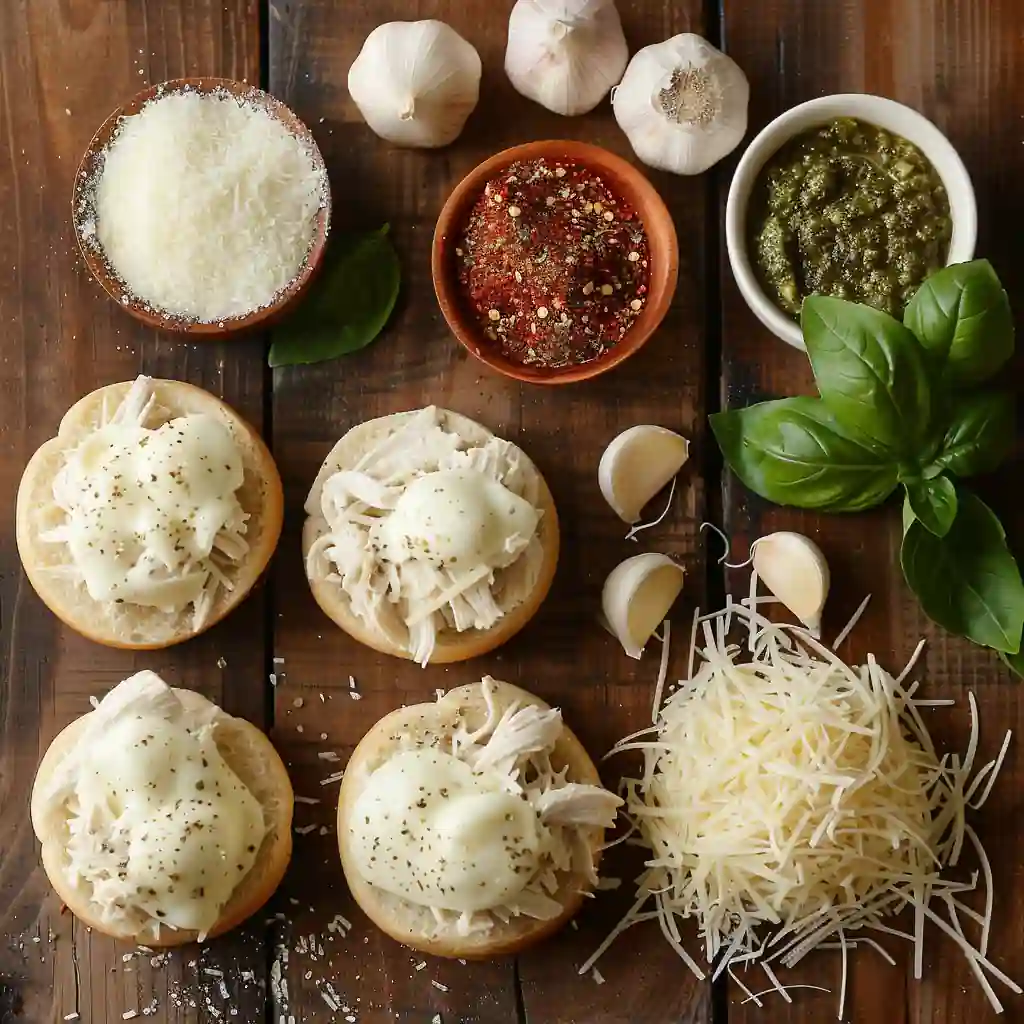
- 12 soft slider buns or Hawaiian rolls
- 2 to 3 cups cooked shredded chicken (rotisserie works great)
- 1/2 to 2/3 cup basil pesto, store-bought or homemade
- 2 cups shredded mozzarella cheese
- 1/2 cup grated Parmesan cheese
- 4 tablespoons unsalted butter, melted
- 3 cloves garlic, finely minced
- 1 teaspoon Italian seasoning
- 1/2 teaspoon salt, or to taste
- 1/4 teaspoon black pepper
- Optional: red pepper flakes for a little heat
- Optional: fresh basil or parsley for garnish
- Nonstick spray or a little extra butter for greasing the baking dish
Instructions
- Preheat your oven to 350°F (about 175°C) and lightly grease a baking dish that fits your slider buns snugly. This helps the Cheesy Garlic Pesto Chicken Sliders stay soft on the sides while crisping slightly on top.
- Using a long serrated knife, slice the entire sheet of slider buns horizontally so you have a top and bottom “slab” without separating each roll. Place the bottom slab into the prepared baking dish.
- In a mixing bowl, combine the shredded chicken and basil pesto until the meat is evenly coated and glossy. Taste and adjust with a bit of salt or pepper if needed, keeping in mind the cheese will add more saltiness.
- Spread the pesto chicken mixture evenly over the bottom buns, making sure every corner gets some love. Sprinkle the mozzarella and Parmesan over the chicken in an even layer for maximum cheesy coverage.
- Carefully place the top slab of buns over the cheese layer, pressing very gently so everything settles into a cohesive stack. You want contact without squishing the filling out of the sides.
- In a small bowl, stir together the melted butter, minced garlic, Italian seasoning, salt, and pepper. Brush this mixture generously over the tops of the buns, letting some drizzle down the sides for extra flavor.
- If you like a little kick, sprinkle red pepper flakes lightly over the buttered tops. This gives your Cheesy Garlic Pesto Chicken Sliders a subtle heat that pairs beautifully with the rich cheese.
- Cover the dish loosely with foil and bake for about 15 minutes until the cheese is mostly melted. Remove the foil and bake another 5 to 8 minutes until the tops are golden and slightly crisp.
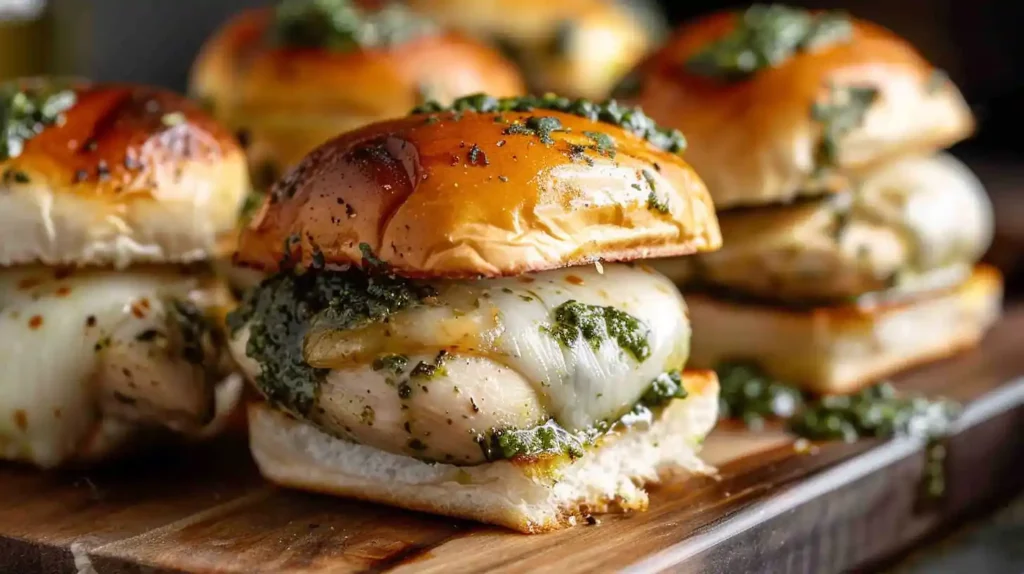
- Let the sliders rest for a few minutes so the cheese can set slightly, then slice along the bun lines with a sharp knife. Garnish with fresh basil or parsley before serving warm.
Smart Storage and Reheat Tips for Busy Weeks
Refrigerating Cheesy Garlic Pesto Chicken Sliders is easy: let them cool completely, then store in an airtight container for up to three days. Keeping them tightly covered helps prevent the buns from drying out.
Reheating works best in the oven or air fryer, where a quick blast of heat crisps the tops again. For the oven, use around 325°F and warm them for 8 to 10 minutes, adding a loose foil cover if they brown too quickly.
For freezing, wrap individual sliders tightly in foil and then place them in a freezer-safe bag. When you’re ready, thaw in the fridge overnight, then reheat until hot in the center so your Cheesy Garlic Pesto Chicken Sliders taste nearly as good as fresh.
7 Game-Changing Benefits of Cheesy Garlic Pesto Chicken Sliders
Cheesy Garlic Pesto Chicken Sliders bring serious convenience because you prepare a whole batch at once instead of flipping individual sandwiches. That makes them ideal for hosting, meal trains, or Sunday prep for busy weeks IMO.
They also pack in protein from the chicken and some healthy fats from the olive oil in the pesto, especially if you use a quality brand. For anyone curious about the nutritional perks of olive oil and Mediterranean-style ingredients, exploring a trusted resource like evidence-based nutrition guidance can be helpful. For more ideas, check out our guide on Homemade Butter Chicken.
- They scale easily, so you can double the recipe for big gatherings without adding much extra effort.
- The flavor profile feels gourmet, giving you restaurant-level vibes with simple supermarket ingredients.
- They’re hand-held and napkin-friendly, which is clutch for game nights, potlucks, or casual hangouts.
- Kids and adults both love the cheesy, garlicky combo, so you avoid cooking separate meals.
- Cheesy Garlic Pesto Chicken Sliders work as a main dish, hearty snack, or party appetizer, depending on portion size.
Common Slider Slip-Ups to Avoid
One big mistake is using bone-dry chicken, which makes the sliders feel tough instead of juicy. Mixing the shredded chicken thoroughly with enough pesto keeps everything moist and flavorful.
- Overbaking can dry out the buns, so keep an eye on the final minutes and pull them when the tops are golden, not dark brown.
- Skipping the foil cover at the start can cause the tops to crisp before the cheese melts properly in the center.
- Using too little garlic butter leads to bland tops, so don’t be shy with that brush action.
- Cutting the Cheesy Garlic Pesto Chicken Sliders while piping hot can cause the filling to slide out, so a brief rest time really helps.
Tasty Alternatives and Easy Variations
For a lighter twist, you can make Cheesy Garlic Pesto Chicken Sliders with chicken breast poached in broth and shredded. Using a lighter mozzarella or part-skim cheese still gives you a great melty effect with slightly fewer calories.
If you need a vegetarian version, swap the chicken for sliced roasted vegetables like zucchini, peppers, and mushrooms tossed in pesto. You still get that cheesy garlic goodness with a totally different, veggie-forward vibe.
Gluten-free slider buns turn this into a more allergy-friendly option, and you can use dairy-free cheese and vegan pesto for a plant-based approach. FYI, the balance is to keep enough moisture so the sliders don’t end up dry when changing ingredients.
Frequently Asked Questions
Find answers to common questions
Final Thoughts
Cheesy Garlic Pesto Chicken Sliders are the kind of reliable, no-stress recipe that turns you into “that friend who always brings the good food.” For extra cooking confidence and technique tips, checking an authority like professional cooking fundamentals can level up your kitchen skills.
Whether you serve Cheesy Garlic Pesto Chicken Sliders for game night, a casual party, or a cozy family dinner, they deliver maximum comfort for minimal effort. Next time you need something shareable and impressive, whip up a batch and watch them disappear faster than you can say Cheesy Garlic Pesto Chicken Sliders.
PrintDelicious Cheesy Garlic Pesto Chicken Sliders: 10 Tips

Cheesy, garlicky pesto chicken sliders baked until golden and melty.
- Prep Time: 10 minutes
- Cook Time: 20 minutes
- Total Time: 30 minutes
- Yield: 12 sliders
- Category: Appetizer
- Method: Baked
- Cuisine: American
Ingredients
12 soft slider buns or Hawaiian rolls
2 to 3 cups cooked shredded chicken (rotisserie works great)
1/2 to 2/3 cup basil pesto
2 cups shredded mozzarella cheese
1/2 cup grated Parmesan cheese
4 tablespoons unsalted butter, melted
3 cloves garlic, finely minced
1 teaspoon Italian seasoning
1/2 teaspoon salt
1/4 teaspoon black pepper
Red pepper flakes (optional)
Fresh basil or parsley for garnish (optional)
Nonstick spray or butter for greasing
Instructions
1. Preheat oven to 350°F (175°C) and lightly grease a baking dish.
2. Slice slider buns horizontally into a top and bottom slab and place the bottom slab in the dish.
3. Mix shredded chicken with basil pesto and season to taste.
4. Spread pesto chicken evenly over buns and top with mozzarella and Parmesan.
5. Place the top slab of buns over the filling and press gently.
6. Mix melted butter, garlic, Italian seasoning, salt, and pepper; brush over buns.
7. Sprinkle red pepper flakes if using.
8. Cover with foil and bake 15 minutes, then uncover and bake 5–8 minutes until golden.
9. Rest a few minutes, slice, and garnish with basil or parsley.
Notes
Great for parties, game day, or make-ahead meals.